Gigi's Blog bio picture
  • Welcome to the Gigi Blog!

    Mother to six Little Women and Two Little Men. Married to a Happy Mortician. Caretaker to goats, chickens and many, MANY bunnies. Photographer. Homeschooler. Lover of Jesus, coffee & tea and all things pink & vintage.

Homemade Rosehip Infused Face Cream

It’s the first of December. There is no snow falling now. The ground is bare and muddy. Children linger by windows waiting in hopes of seeing the faint sparkle of white falling from the heaves, while they still find their hearts filled with joy at the thought of going outdoors to play for long hours without being cold and wet. It is an in-between feeling. We are spending more time indoors, reading by the cozy fire, playing games, working on puzzles, drinking tea and listening to audio stories. This makes up some of my favorite things about winter at home with the children. My body and heart craves for quieter afternoons, even if just for a half hour of being curled up under an afghan and crocheting or reading by a warm fire.

All seasons are beautiful. And I am grateful for one as they unfold. This, to me, is a hopeful season of slow(er), intimate and quiet days.


Being indoors means I can work on some homemade projects that have been on my to-do list.  Here is one I worked on today in between homeschooling, cleaning up lunch and getting the house straightened out for the afternoon. So to me, that means this is a pretty simple recipe. 🙂

Here, adapted from Rosemary Gladstar’s book, is a delicious recipe for a beautiful, lightly-scented face cream that will make you feel feminine and lovely. You will not only save money from avoiding an overpriced cream at the retail store, but you will find satisfaction in personally creating a lovely healthy treat for your skin.
 

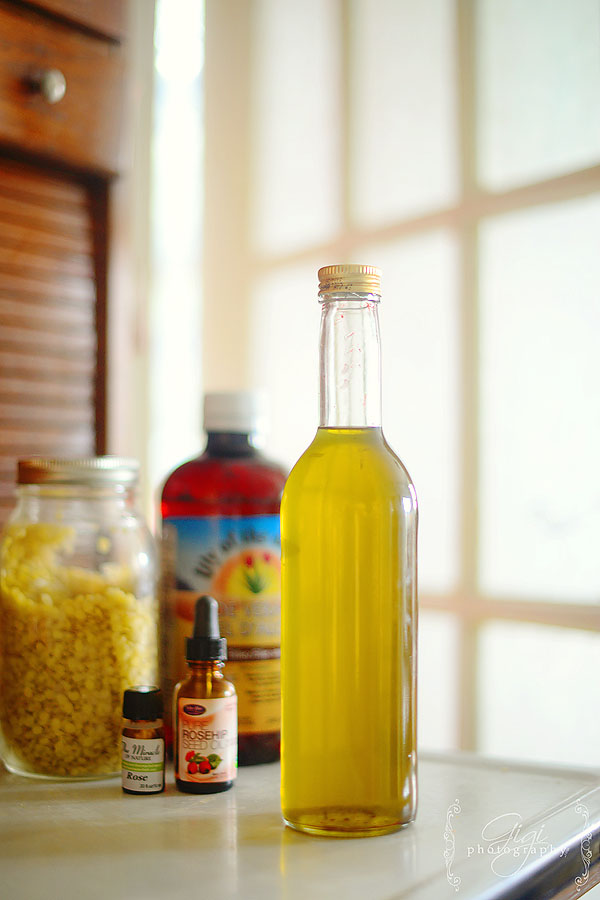
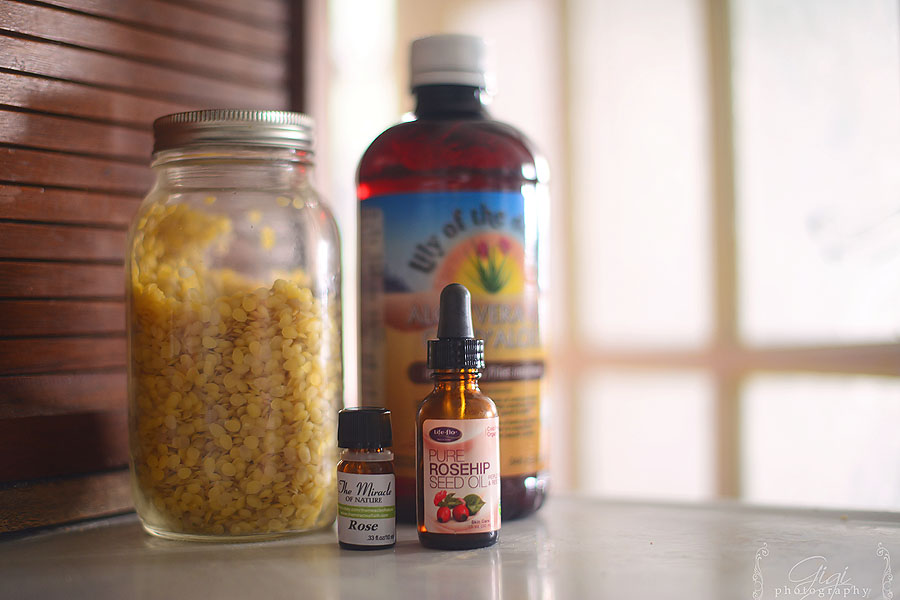
An easy collection of ingredients is all you will need. [I have had all of these ingredients on hand for quite some time – so if you feel that the initial purchase is intimidating, just know it will help you with future further projects.]

1/3 cup of Aloe Vera gel
half a dropper of Pure Rosehip Oil
1-5 drops of Essential Oil {preferred oil of choice}

1 oz. of beeswax (grated)
1/3 cup of coconut oil
2/3 cup of distilled water

I also added a few drops of my rose-infused oil, which I had made yesterday.

Making a face cream with rosehip oil is only natural, as this oil can regenerate skin cells, treats scars and acne. It has the ability to moisturize the driest skin, credited to give a healthy glow.  I have written about the benefits of rosehips before – which you may read here.
To begin, mix the distilled water, aloe vera gel, rosehip oil and essentials together in a glass jar or measuring cup and set aside.

In a double boiler, melt the beeswax and coconut oil together slowly. Do not overheat. Once the beeswax is melted, take your oils away from the heat source and allow it to cool. You will want to pour it into your blender of choice at this point as it is easier to pour when it is completely liquid.

Allow to cool until the beeswax/coconut oil are approximately the same temperature as the Aloe Vera/rosehip mixture.

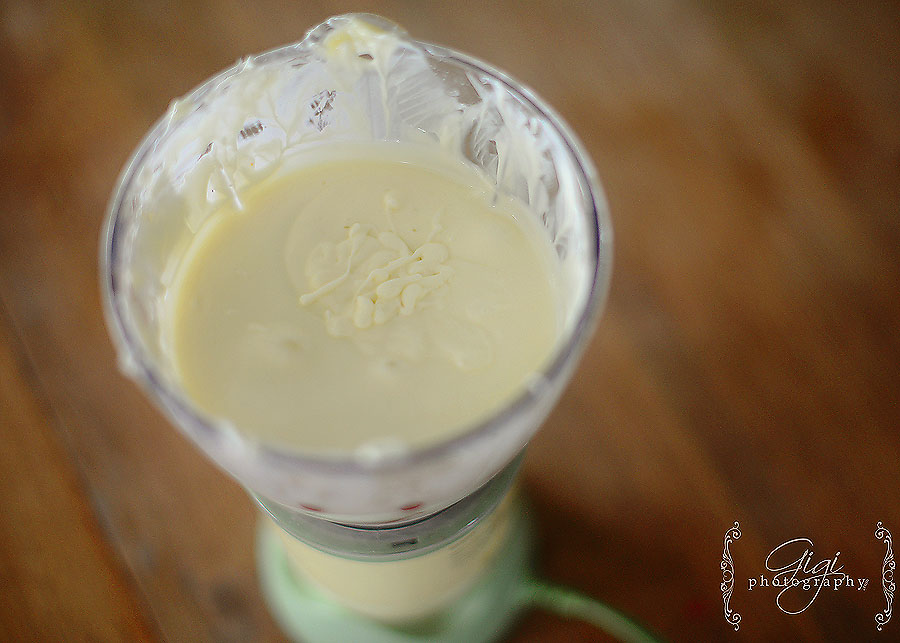
Once the two mixtures are near the same temperature, turn on your blender/mixer and slowly, ever so slowly, begin adding your aloe vera mixture to the oils. Just drizzle in a little at time. Go slowly.

As the mixer works, it will slowly emulsify to the point where it will look creamy and rich.


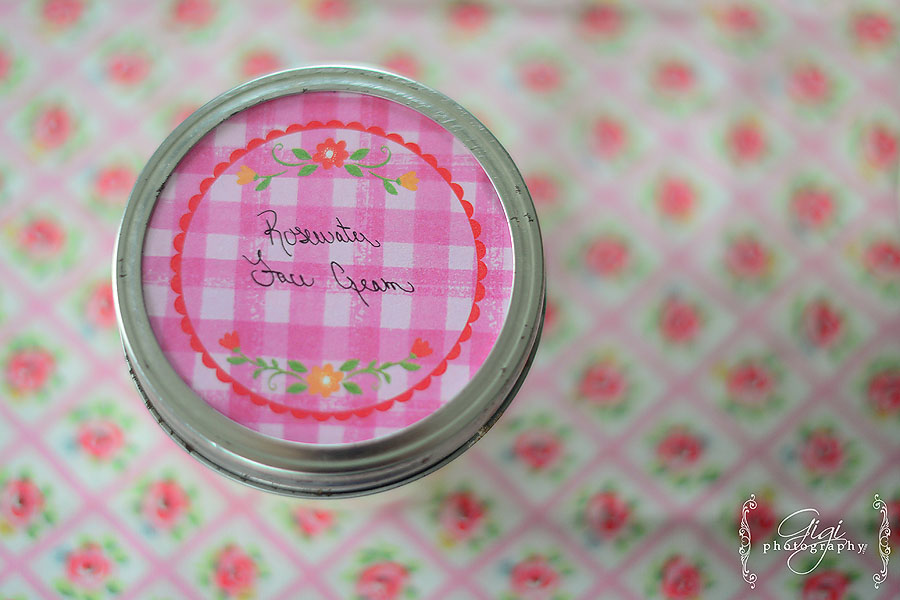
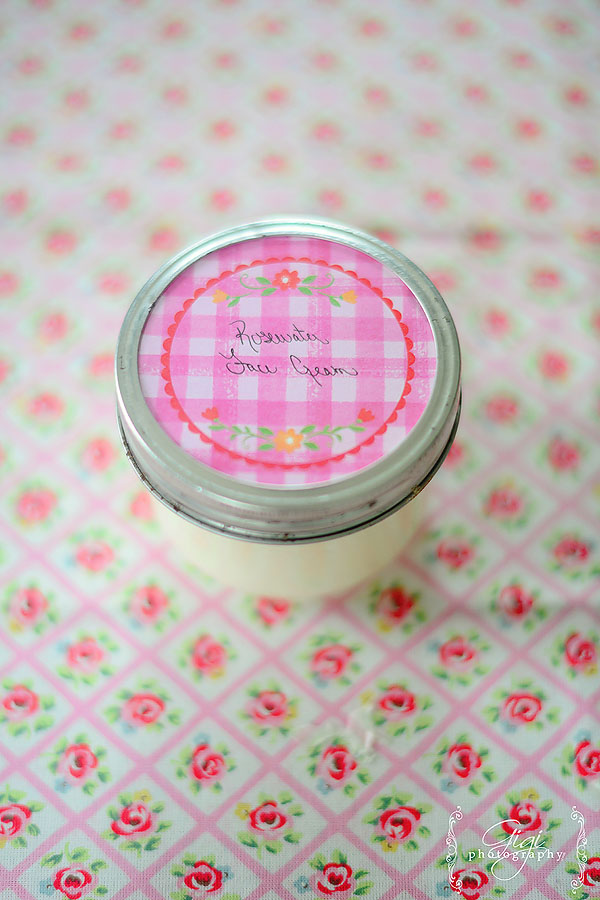
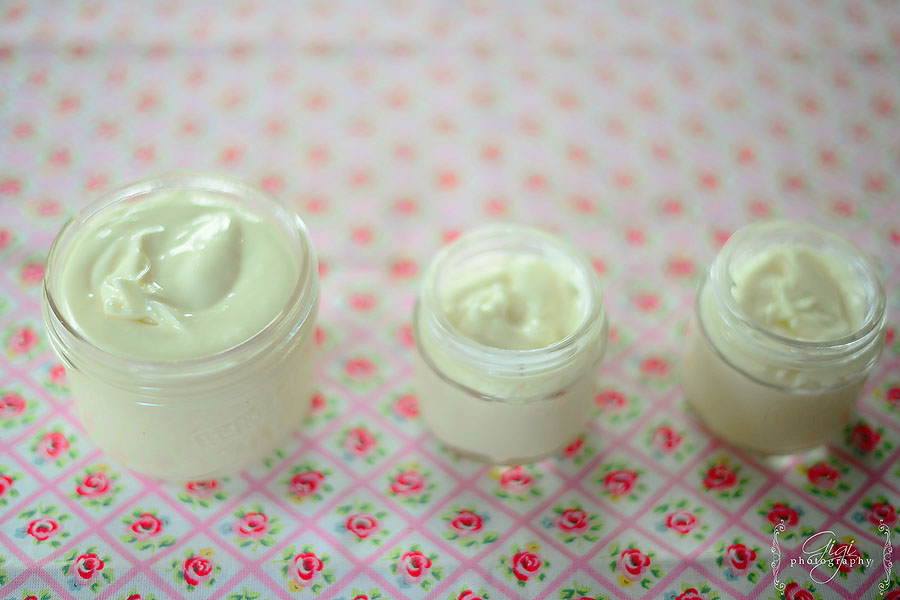
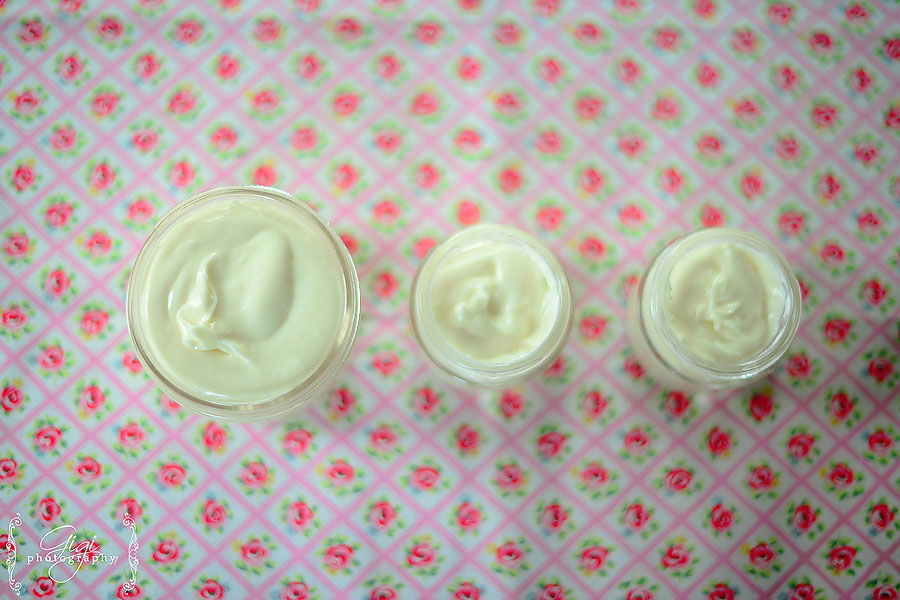
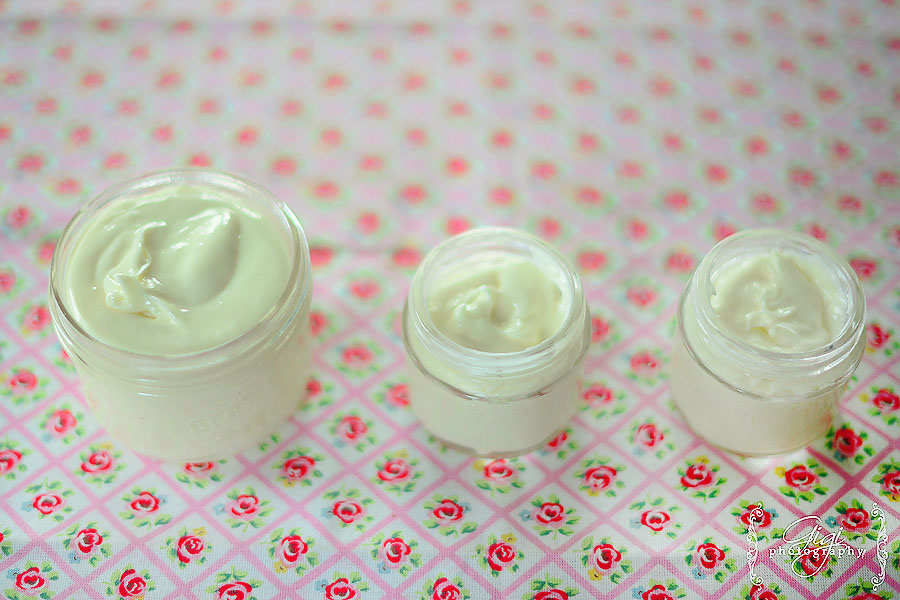
Pour into your chosen vessel – I used a glass mason jar and two smaller glass containers.
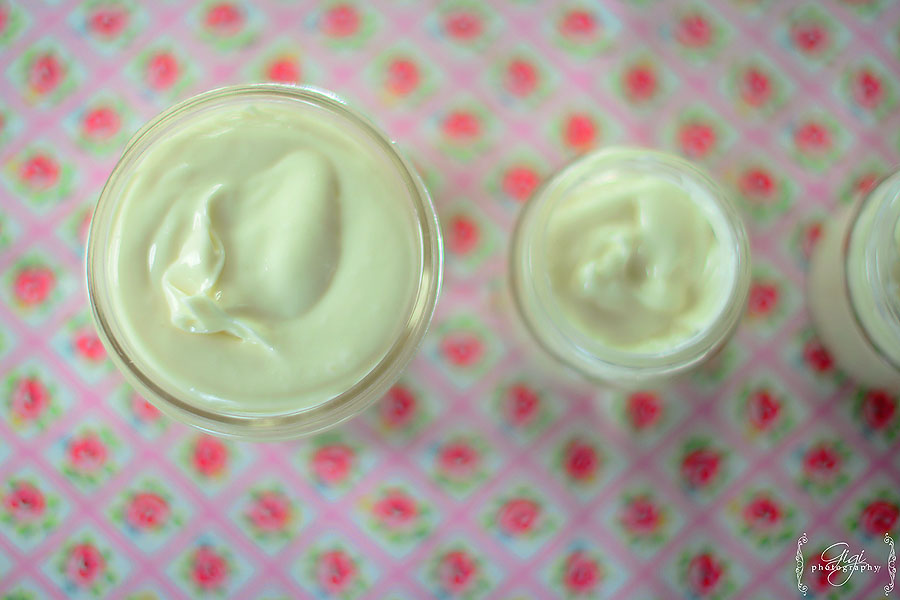


This lotion is soft, rich and silky and 100% natural – oh so good for your skin! It will sink into the layers of your face – or anywhere you use it! – and hydrate your skin, something we all need as winter sets in.


This is a thick cream so you will only need a little on your face but you may also use it on your hands, arms, neck, etc.I will be giving two of the jars as gifts and one will be for my own skin care. Rosemary Gladstar’s book suggests to keep your lotion in a cool location. My bathroom is rather cold so it will be fine – in the summer months when we are in the heat of July, I may just keep it in the fridge.
December 2, 2016 - 3:06 pm

Jenn I am definately going to use this recipe!

Teaching Virtues to Little Hearts {VTB giveaway}

[Details regarding the giveaway of the Virtue Training Bible at the end of the post. Don’t miss out!]

Do you remember when I wrote about the Child Training Bible?

Well, yes, we just love our Child Training Bible!  It is so wonderful when there is a character issue that needs attention or when we want to memorize Scriptures in a category (for example, avoiding lying).  So when I found out the makers had created a new Bible – the Virtue Training Bible – I was delighted!

As a mother, encouraging my children to hide God’s word in their hearts is a big priority. Right now, we are putting together our VTB, going through all the virtues slowly but surely during our Morning Basket time together. The [four older] girls each have a Bible and we all look up the Scriptures, tab the Bible in the right place and highlight the verses accordingly.

If you are not familiar with how the VTB works – here is a great video explaining it:


Instead of putting the Bible together without the children, I have the girls do each section with me, highlighting and tabbing the Scriptures.

I love how the  virtues  – such as kindness, peace, patience, purity and humility – are able to be lined up with character traits that I am teaching or plan to teach the girls throughout the year. This month, we are looking up verses on justice.


To create your Virtue Training Bible, you will need your Bible :),  along with different colored highlighters that co-ordinate with the VTB sheets. Also, you will need some coordinating sticky tabs to mark the Scriptures’ page.


It is a beautiful sight to see your child immersing themselves in Scripture and watch them become excited about the Word of God! One daughter asked if we could just do the Virtue Training Bible all morning long.


You can find out more about the Virtue Training Bible at the website. I highly recommend having such a lovely and fun way of studying the Scriptures for you and your children!

And what a blessing – Mindy Dunn, the creator of the VTB, has offered one reader a copy of the Virtue Training Bible. To enter the giveaway here on the blog,  just leave a comment below and I will use random.org to draw a winner at the end of next week.

Be blessed as you teach your family the jewels in the Scriptures!

December 8, 2016 - 11:52 pm

Christina Would love this for my boys. 🙂

December 5, 2016 - 4:47 am

Renee What a wonderful way to teach Biblical virtues to the children!! Great idea! We would love to try this method too!!

December 3, 2016 - 2:39 pm

Laura I would love one of these training Bibles for our children. I have been interested in them for a while.

December 2, 2016 - 4:32 pm

Melanie I would love this for my son and daughter!

December 2, 2016 - 9:17 am

Stacey I would love to have one of these for our kids!

December 1, 2016 - 1:40 am

Liz Bronsveld Oh I do remember a while ago you posting about this, but my girls weren’t of an age where they would appreciate it yet…I had it stored in my.memory bank;) but L is loving a veggie tale devo we got her and so I think she might be ready to help me with a bigger project!

November 30, 2016 - 11:47 pm

Jennifer Heemskerk Looks like a wonderful tool for studying scripture!

November 30, 2016 - 11:37 pm

Megan Oooo i would love this for my littles!!

November 29, 2016 - 9:08 pm

Steph Yes please! This looks great!

November 29, 2016 - 3:52 pm

Nicole I just love reading your blog. Would love to win.

November 29, 2016 - 1:40 pm

Kim B. Please enter me in the giveaway. This looks like what we’ve been searching for. I have four young boys and this would be perfect for them.

November 29, 2016 - 1:39 pm

Emma I’d love to win one of these Virtue Training kits. They look like a great resource for families. Thank you for the giveaway!

November 29, 2016 - 12:19 pm

Brenda (Gigi’s Mom) This is a wonderful tool, Gillian! What fun for the girls …
I would love to win one of these bibles 🙂
Love you and your passion to teach your children the ways of God! xoxo

Pass the Biscuits, Please.

“Ma hurriedly floured the breadboard, and kneaded the dough.
Then she got dinner. She was putting the pan of light biscuits in the oven when Pa came driving the wagon up the hill.”
-By the Shores of the Silver Lake, Laura Ingalls Wilder


Now that the November days have turned much colder and a thin layer of crispy snow has covered our land, it’s time for soup — and biscuits.

At least three times a week – maybe more –  we have a hot, homemade soup for lunch. It is a great way to stretch your food. I often cut and peel extra potatoes for soup the next day or cook up a bit of extra rice to add to chicken broth and vegetables for a rather quick, nutritious lunch for the children.
To go along with our simmering lunch, it only natural to serve bread – but what if you have not had time to make bread that morning? I believe biscuits, fresh from the oven, our a perfect choice.

To make this a little bit easier on my time,  as mornings are usually quite busy with homeschooling and morning chores, I use a homemade make ahead mix.

So, here is another mix to prepare for your pantry, if you so desire.

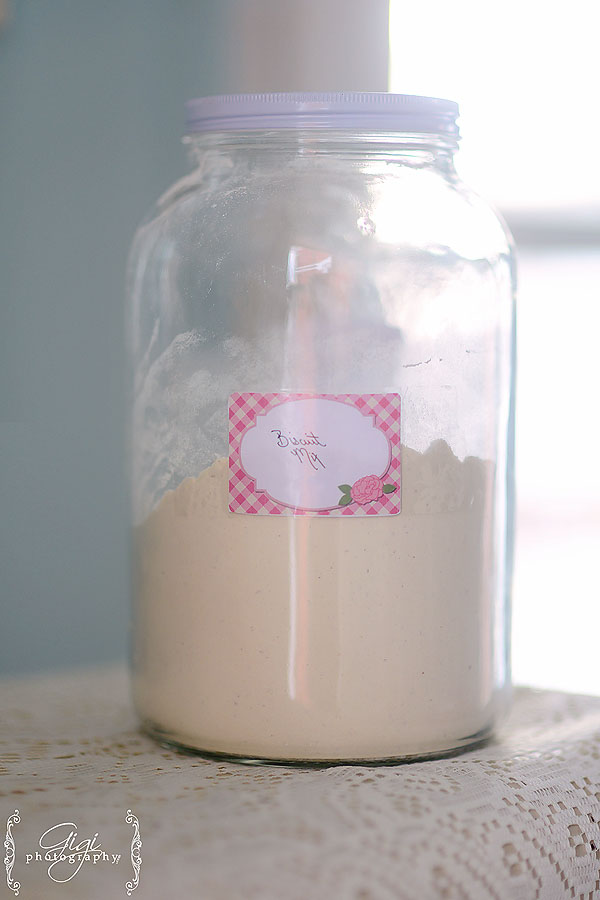
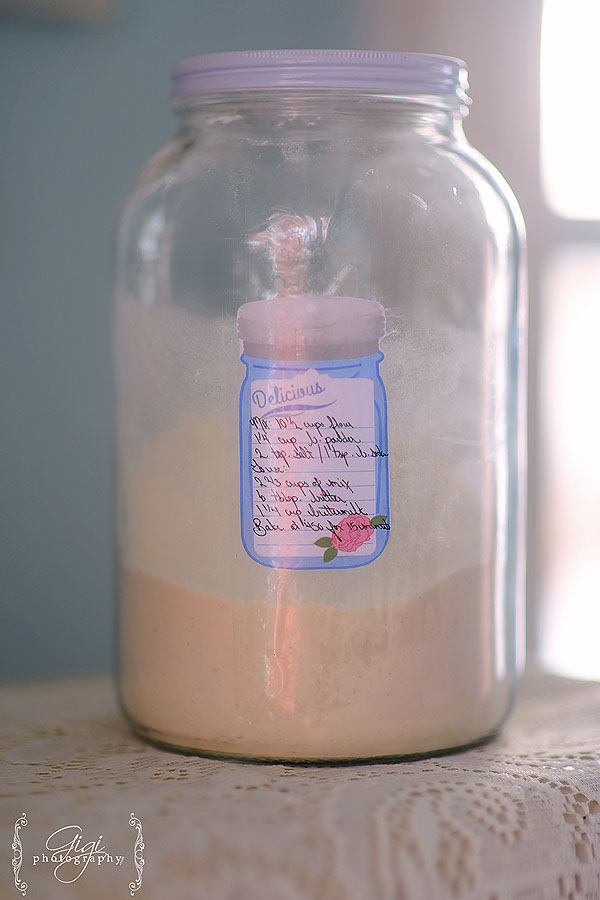
Buttermilk Biscuit Make-Ahead Mix:

10 1/2 cups of desired flour
1/4 cup of baking powder
2 tsp. of salt
1 tsp. of baking soda

To use:

Measure out 2 2/3 cups of the prepared mix. Cut in 6 tablespoons of cold butter. Use a pastry cutter or two knives, if you do not own a cutter. Add 1/4 cup of buttermilk. [If you do not have buttermilk on hand, simply add a splash of vinegar into your regular milk. Let it sit for a few minutes and you will have your buttermilk.]  Roll out on a floured surface and cut out biscuits (I use a mason jar ring). Place on tray and bake in a hot oven for 15 minutes or until golden on edges.

Because I cook only with wood, I do not follow regular heating temperatures – so I have baked this on lower temperatures and it has worked out. They will just need to bake longer. For those with regular stoves, bake at 450.


When you store your mix, it is a great idea to attach the recipe to the back of the jar or container. {I have forgotten to do this in the past and then cannot remember the recipe which I used originally!} Then when the mix is nearly empty, just use the directions to make a quick refill.


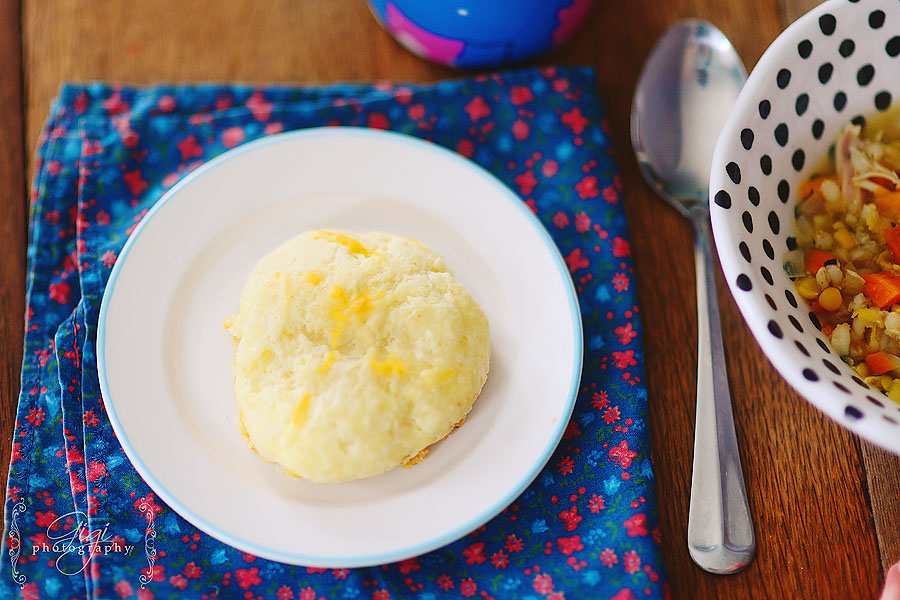
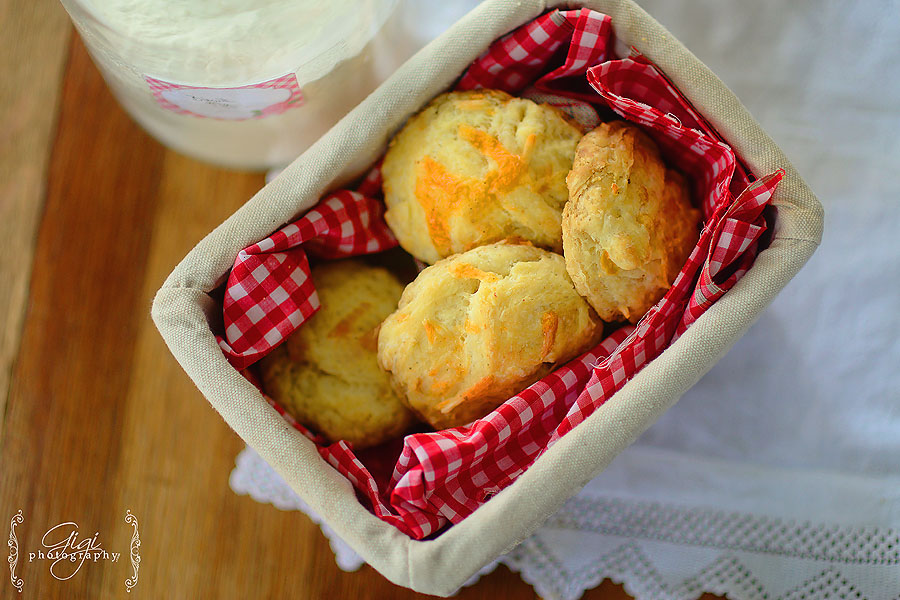
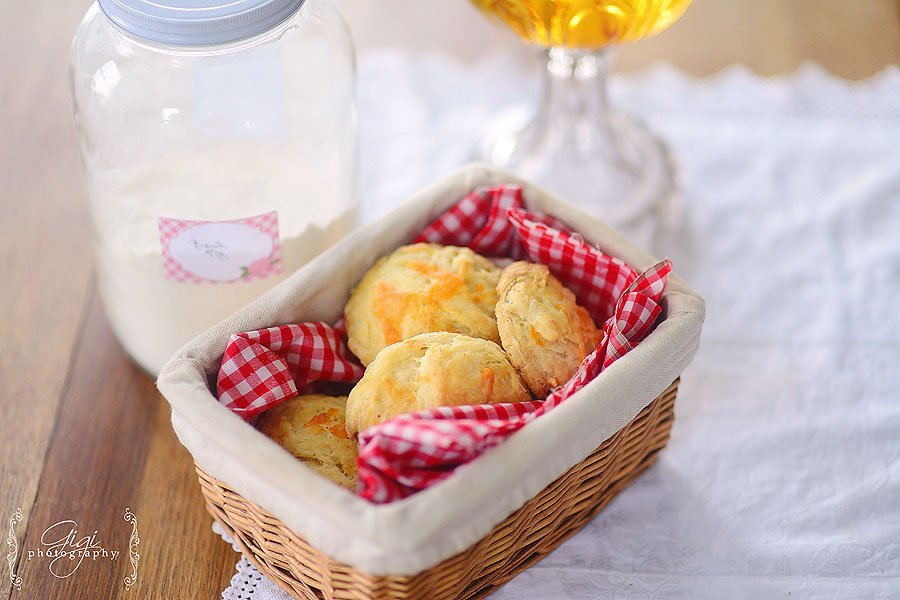
Serve hot with delicious butter – sprinkle some cheese in your dough and you will have cheese biscuits. Add a little honey and you will have honey and buttermilk biscuits, perfect for a warm, toasty breakfast on a chilly winter morning.


They can be served with nearly every meal – you choose. For breakfast as tea biscuits with jam, at lunch as biscuits for soups and stews and an extra side dish for those dinners that need a little something special.


Enjoy!


November 29, 2016 - 10:36 pm

Krista I cannot wait to add this to our pantry! Do you have a pancake pre mix recipe?

November 24, 2016 - 7:38 pm

Brenda (Gigi’s Mom) Yum!! I always loved having bulk mixes, ready to go when needed. Also the girls can make the biscuits, using your cute directions!! xo

November 23, 2016 - 12:39 pm

Karen Woodall The store bought baking mixes are terrible. bland and tasteless, but making fresh mix can be time consuming on busy mornings. Love that you can just have this recipe sitting on teh shelf in bulk! thanks for the post!

November 22, 2016 - 11:43 pm

Our Home of Many Blessings Oh yummy,thanks for sharing! !I have the perfect mix jar also!Hope you guys are doing well!

Making Beet Kvass [a super tonic]

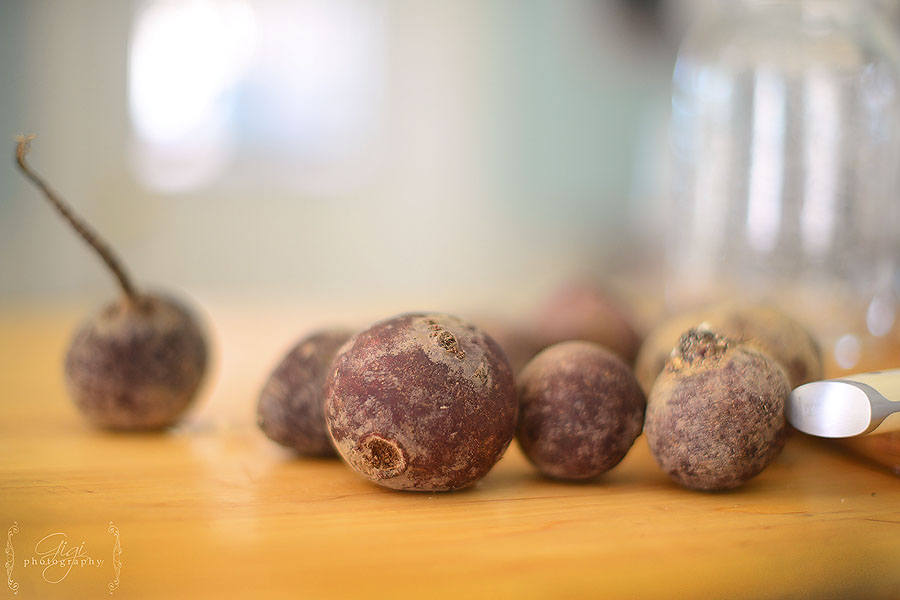
The humble beet has made its way onto our dinner table so much more frequently since growing our own vegetables. Root vegetables are typically simple to grow and I am happy about that.

In previous years, beets just brought to mind pickled beets, something I am not too fond of. However, a simple dish of steamed or boiled beets is delicious and a beautiful addition to your family’s vegetable menu. So when I was planning out our winter vegetable rotating menu, I knew beets would be added. They are delicious, oh so healthy and, well, yes, they are rather pretty, aren’t they?


Once again, looking at this simple root vegetable will amaze you – as God packed it full of  sodium, potassium, magnesium, calcium, iron, phosphorous, vitamins A and C, vitamin B3, and fiber.  Beets boost the immune system and they are high in folic acid and folate content [which makes them wonderful food for pregnant women and those who hope to become pregnant]. These beautiful beets have also help prevent heart disease, stroke, and, yes,  even cancer.


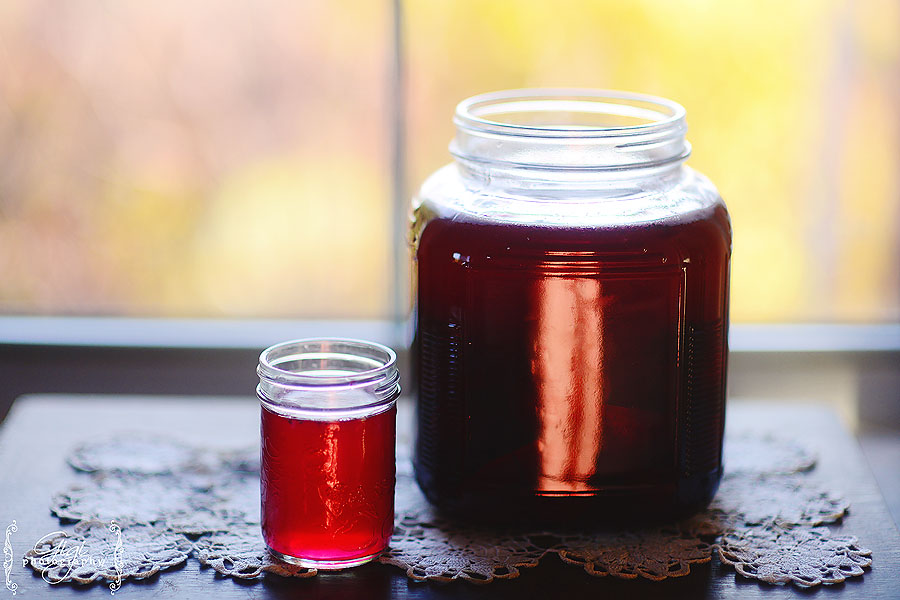
So when a friend showed me her beet kvass fermenting away on her counter *and* told me how healthy it is, I knew it was something that would soon end up in our ‘medicinal cabinet’ option. I’m rather new to fermented foods but this one was very simple to make.

If you don’t know about beet kvass, you can read more information here and here. Loaded with probiotics and incredible health perks (see above listed), it is an easy tonic to swallow. It does not taste bad either. 🙂  This fermented drink originated in Russia and I have often read it was considered the “miracle of Russia”. Beet kvass, which can help with chronic fatigue, morning sickness, kidney stones, heart burn and more, is definitely a drink all families should have in their diet.  [This kvass will flush out toxins in your body so start your dose slowly until your body adjusts.]

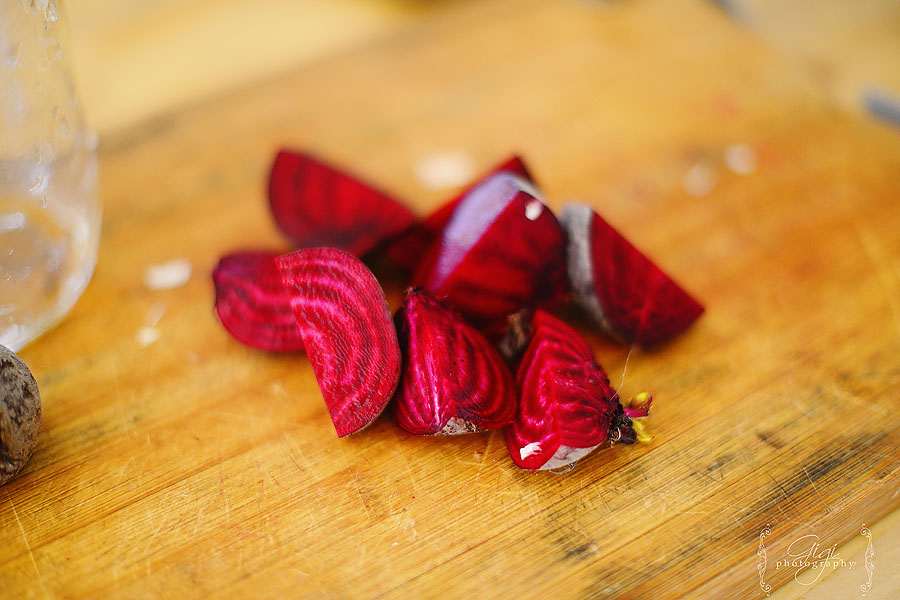
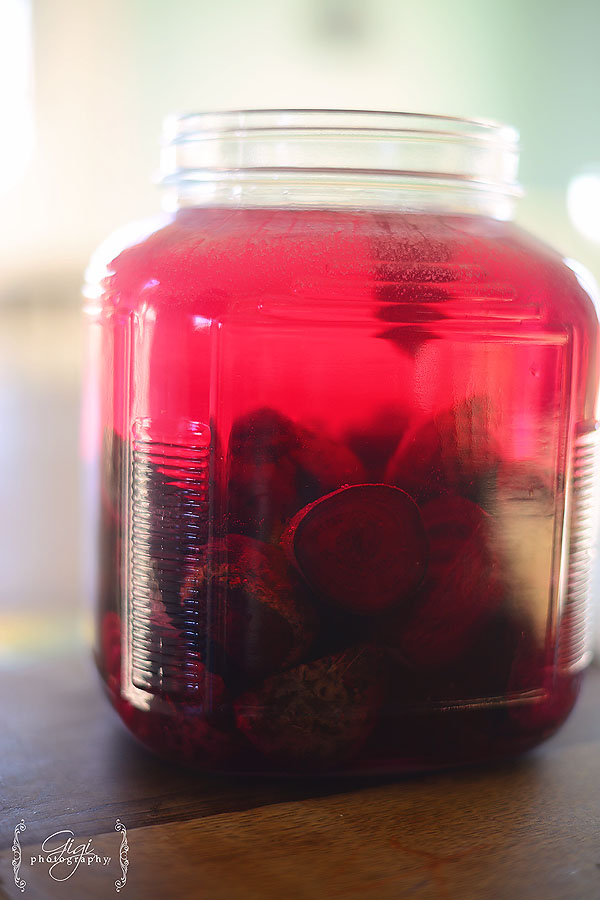
To make your beet kvass, simply chop 3-5 beets up in large pieces (not too small – leave them chunky).
Place in jar.
Add 1/4 cup of whey to the jar – but if you do not have whey, that is fine. The ferment will simply take a bit longer.
Add 1 tablespoon of sea salt.
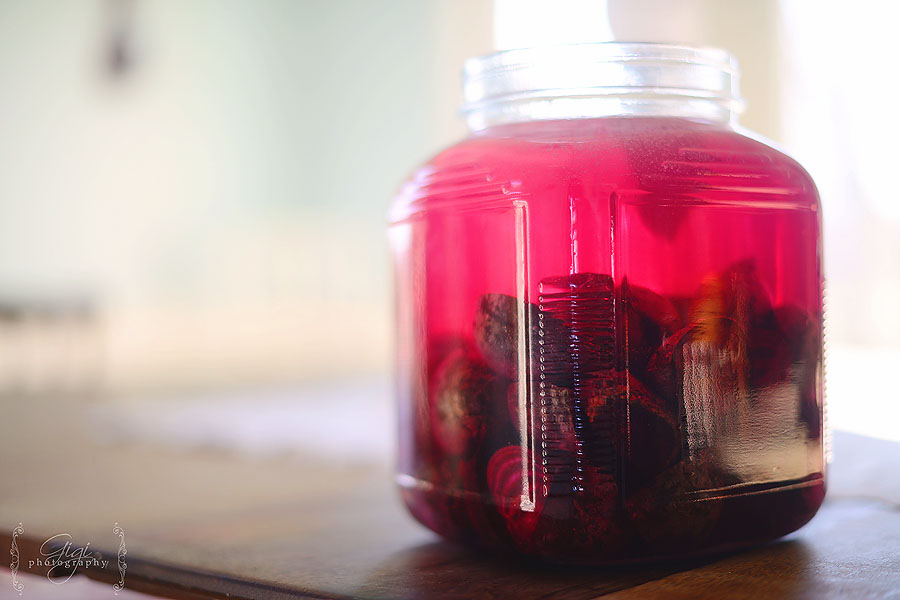
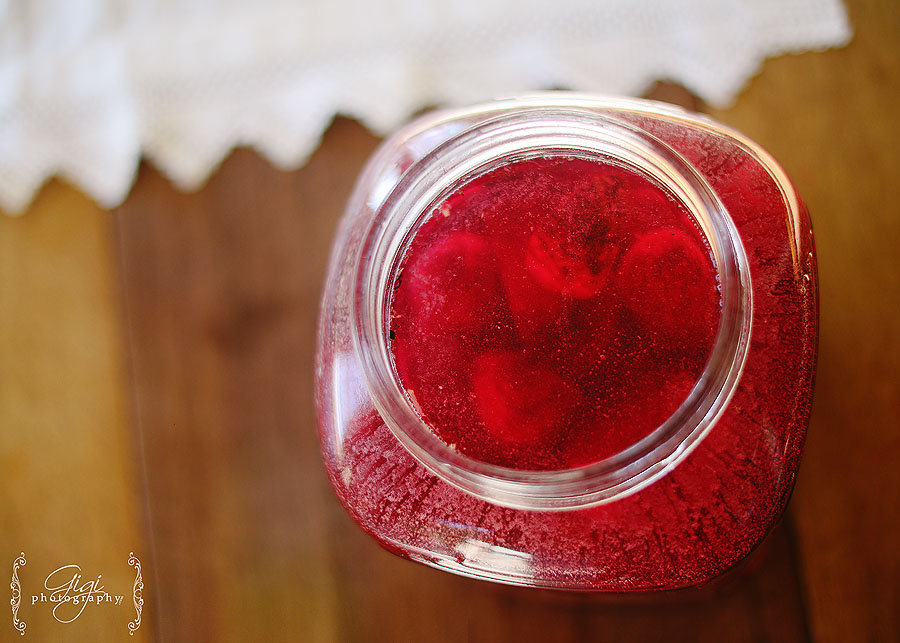
Fill your jar with non-chlorinated water.  Make sure the beets are sumbermged under the brine.
Cover your jar with a tea towel or place in a warm, dark location. Leave at room temperature to ferment for a few days. If you have not added whey, you may need to wait a few extra days for the fermentation.
Remember to “burp” your container or it could explode! Simple release the gas each day but quickly opening the lid.

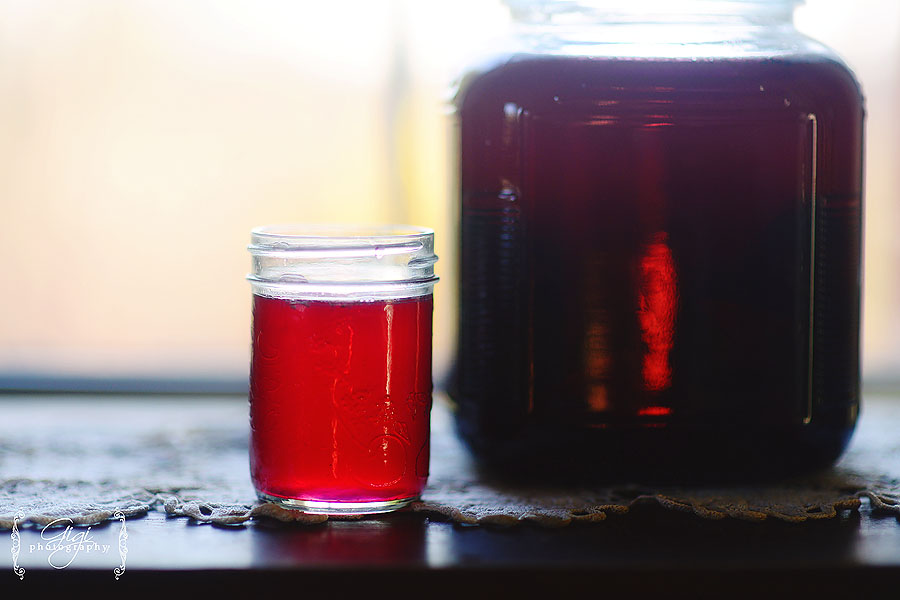
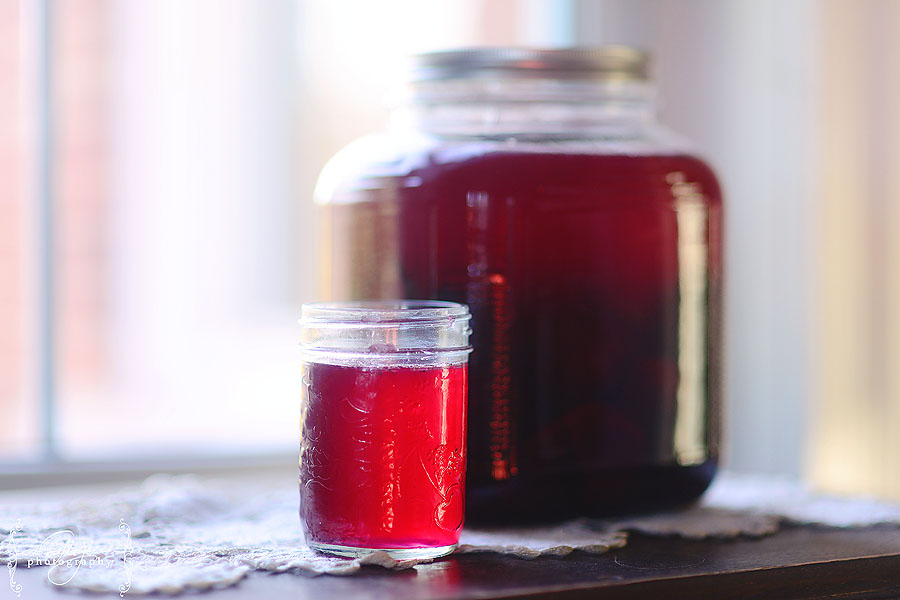
Once it has reached the taste you prefer, strain and put your kvass into the fridge. You may re-use your beets to make a second or third batch of kvass, so don’t be too quick to toss them away!


Drink a little each day – give some to your children – tell your husband how good it is for him – before long, your entire family will be taking a little beet kvass daily. With a long cold winter at our doorstep, it will surely boost up their immune system.


November 22, 2016 - 12:22 pm

admin No, you can leave the peels on.

November 21, 2016 - 9:39 am

MC Do you peel the beets before you put Them in th water?

November 19, 2016 - 5:50 am

admin Sure, Jen! I’ll put together a list. It’s not too complicated but I could see how starting out, it would be hard to know where to start. I should have posted a list of what I use but will try to put that together today. You will have fun canning. 🙂

November 18, 2016 - 7:31 pm

Jennifer Heemskerk Hey Gillian,
This is so neat! I was trying to comment on your provision room post with this but was wondering if you could tell me what canning equipment you use? Brand name of the pot etc…I have been searching online for a canning set and have found a few but then the reviews always make me a little weary. Do you have any tips when purchasing the canning/pressure cooker?

{simple + real}

“I am beginning to learn that it is the sweet, simple things of life which are the real ones after all.”
-Laura Ingalls Wilder


Lazarus is 11 months old today. Lyla prayed and prayed for a little brother and her prayers were answered in due time. She was so excited when she walked into the room, sleepy eyed and groggy, 11 months ago, and discovered a new tiny baby in our home … and a baby boy at that! She ran around jumping, screaming, laughing, saying she could not believe it and “Now we can share bedrooms and have camouflage wallpaper!!!” Well, I’m not sure if that will happen but it so sweet to see special bonds forming between the one boy and many sisters.

We cannot imagine our lives without this precious boy in our family. If he ever learns to walk, it will be a small miracle as he is carried everywhere by his doting sisters. 🙂

November 21, 2016 - 11:50 am

Heather Oh, it’s been so long! Beautiful children! And, they’re getting sooo big! How sweet to see them on here again. I’d better not stay away too long again 🙂

November 15, 2016 - 3:56 pm

Samantha Aw so sweet…I can’t wait to see your family Christmas photo this year!

November 12, 2016 - 4:22 pm

Claire So beautiful!

November 12, 2016 - 12:11 pm

Lynda The sweetness of all those sisters will surely help shape a compassionate, emphatic,personality in Lazarus, camo wallpaper or not!