Whatever you do, work heartily, as for the Lord and not for men.
Colossians 3:23
The large canning pot is bubbling away, sealing up the 24 jars of jelly I have just made on this warm afternoon. Little ones are napping & the older girls are out with the animals, playing Sacagawea and Jean-Baptist, scarves wrapped around their heads and a scraggly rooster tucker under one of their arms. The weather is delightful today – overcast and quite windy. It has been so hot lately that this nice cooler weather is a welcomed break in scorching July temperatures. I love hearing the wind – it reminds me of ocean waves…
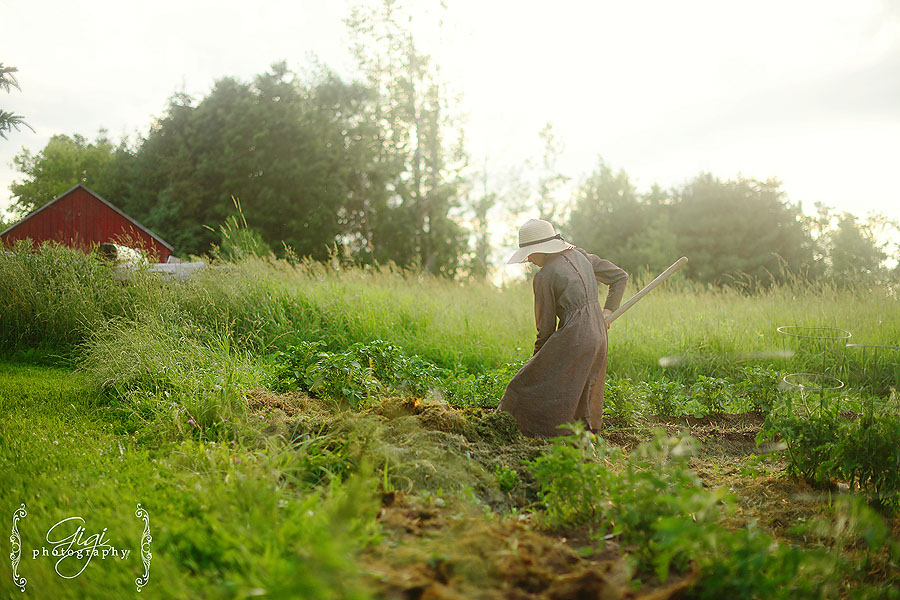
Life has been good lately. How has it been for you? It’s been quiet – the kind of day where you can hear the wind rustling in the summer green leaves of the trees all around, the crickets singing at night … yes, you can even hear a chicken snore at times (did you know chickens snore? I did not know until we started raising hens and yes, they do indeed snore). A few thrift store shopping trips with the girls, canning some jam and weeding – lots of weeding. We have quite a few friends who have immaculate, stunning large gardens and it is always inspiring to visit them. Not discouraging, but inspiring. Lyla (who just turned 10 last week!!) says she wants a flower garden just like the one we visited this week. It was impressive, to say the least. I suggested we try to make a garden like that next year, but of course, that comes with more weeding.
When we work in the garden, we reward the girls (sometimes) with an ice cream treat afterwards, as we are all usually hot and sweaty. But they are not always rewarded. Taking care of the gardens is just something we have to do. It’s a part of being part of the family! A dunk in the pool is a welcome relief on those hot sticky days after spending time in the garden- that, too, is a nice reward.
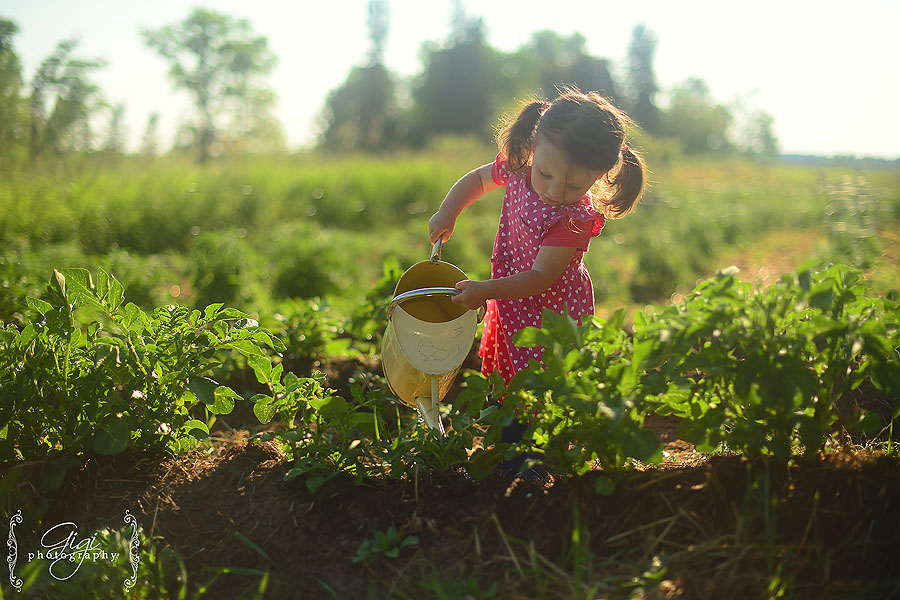
We have 92 tomato plants this year! I cannot wait to can and preserve all those lovely tomatoes, Lord willing! Our beans, carrots and peas are doing fine, but it is not enough for our family. (Sadly, I think the chickens ate the seeds before they could grow.) I look forward to seeing more grow in the garden over the rest of the summer.
In a society where you can be doing anything almost anytime, experiencing new adventures and watching entertainment that will delight you or taking new classes to teach you a new hobby, I’m quite positive that working at home – even so, in the garden – is still a beautiful way to spend and invest your time. I am not a particular lover of gardening – but I cannot let a season pass by without doing my part to grow food for the family. I just cannot! Also, I know it is one way to teach a life skill of working at something and seeing it (hopefully) produce a wonderful end result.
It is a great learning experience for the children. Within the vegetable garden, I believe children (and myself) are brought closer to nature as they unearth new bugs and beetles. They see, firsthand, the wonders of God’s handiwork as a lovely flower turns into a delicious squash or bright green cucumber or even a lovely, red tomato plant. We are able to practice, alongside the children, a little bit of hard-work ethic, doing something that may not be entertaining by society’s standards (pulling weed after weed, row upon row) but if gives you time to think, be quiet, sing a song, talk to your siblings, listen to the birds’ sing or the wind whisper…
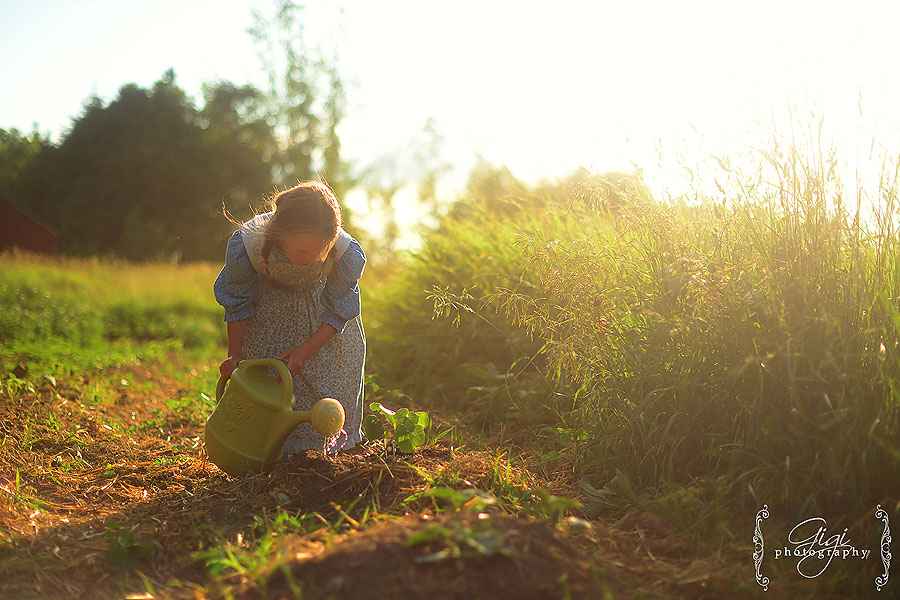
You shall eat the fruit of the labor of your hands;
you shall be blessed, and it shall be well with you.
Psalm 128:2
Of course, there are always a few children that have to be persuaded to do the garden chores, but that is just the way it is. Sticking with it and tending the garden, even if you are tired and hot and want to be doing something else, teaches patience and good work ethic. You can’t just quit when you want to or else your garden would be over-run with pesky weeds {ask me how I know}! I truly believe that the jobs the girls have around the home are teaching them, in little ways, how to properly work. In fact, they went over to help their grandma weed her vegetable garden recently and found it an easy task indeed. Her garden, seeing as it is just for two people, is a smaller size and so to the girls, it seemed like a breeze to weed after weeding our two vegetable gardens, not to mention the flower beds and walkways.
We are not doing our children any favors by sheltering them from work, doing everything for them and avoiding teaching them skills that will one day benefit them as an adult. Even the youngest of the family can contribute – tidy shoes, retrieve diapers for mommy, clear her dishes, even just handing her a towel to help “dry” the dishes is preparation for when she really will need to help out with the kitchen chores.
Hard work is good for the body, good for the soul and good for the mind!
In fact, the Bible clearly advises to stay clear of laziness and to work with your hands. Just this morning, one of my girls, while doing her morning chores, said “I actually LIKE doing chores, mommy.” My heart was happy to hear this! Working hard, breaking a sweat – it is a good thing.
And to aspire to live quietly, and to mind your own affairs, and to work with your hands, as we instructed you, so that you may walk properly before outsiders and be dependent on no one.
1 Thessalonians 4:11-12
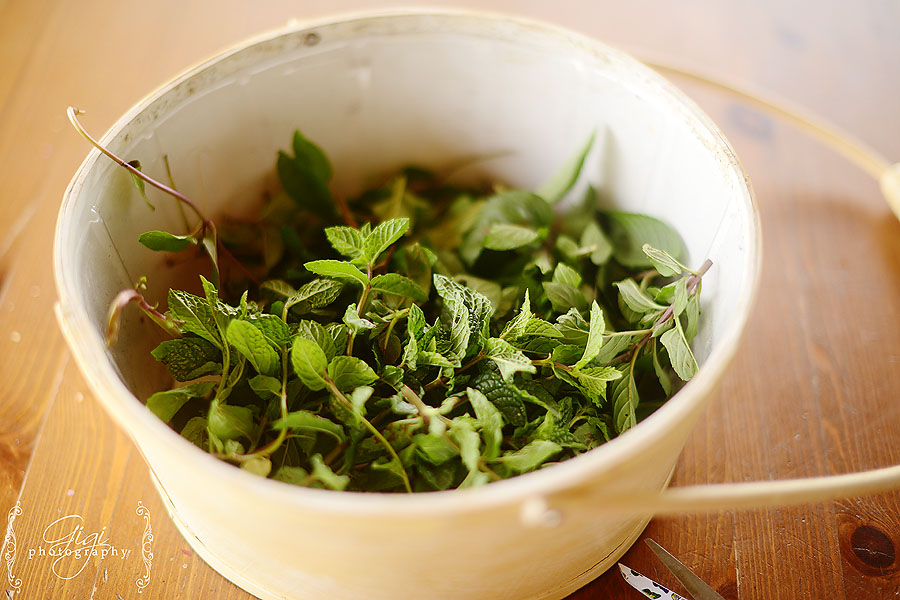

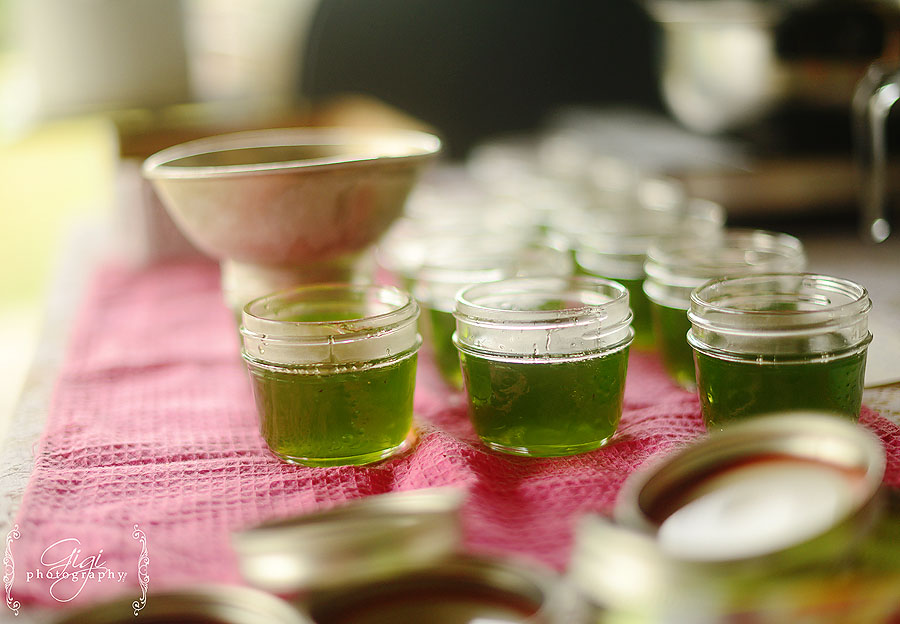
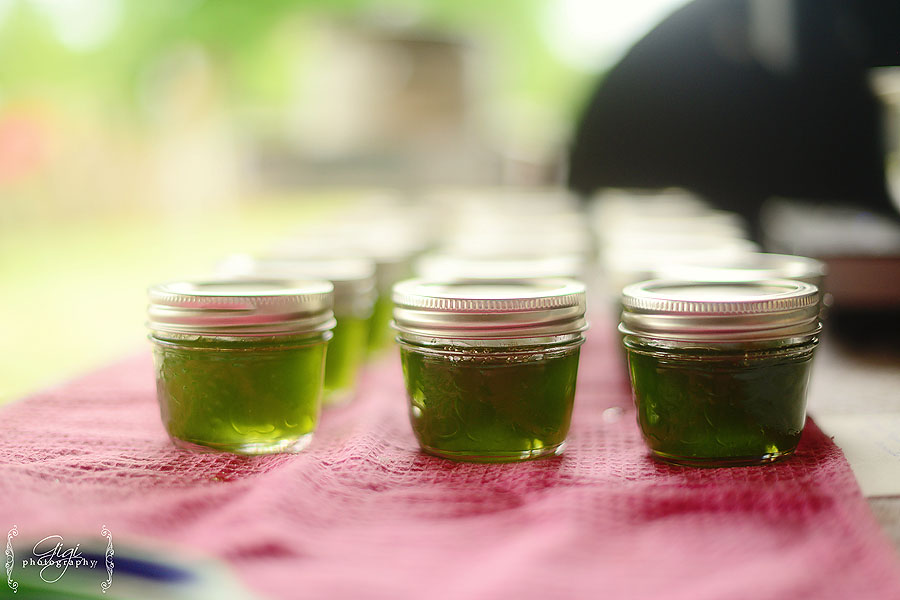







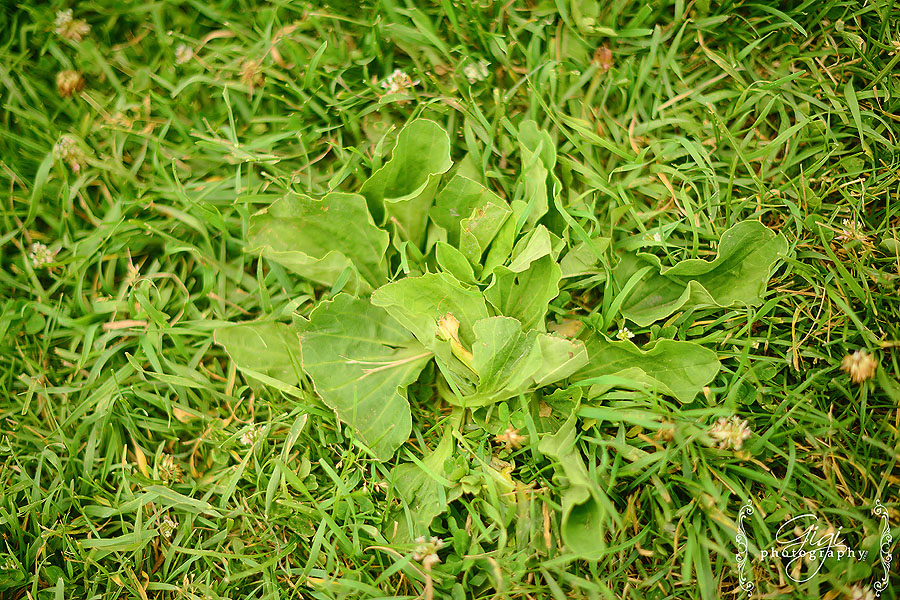
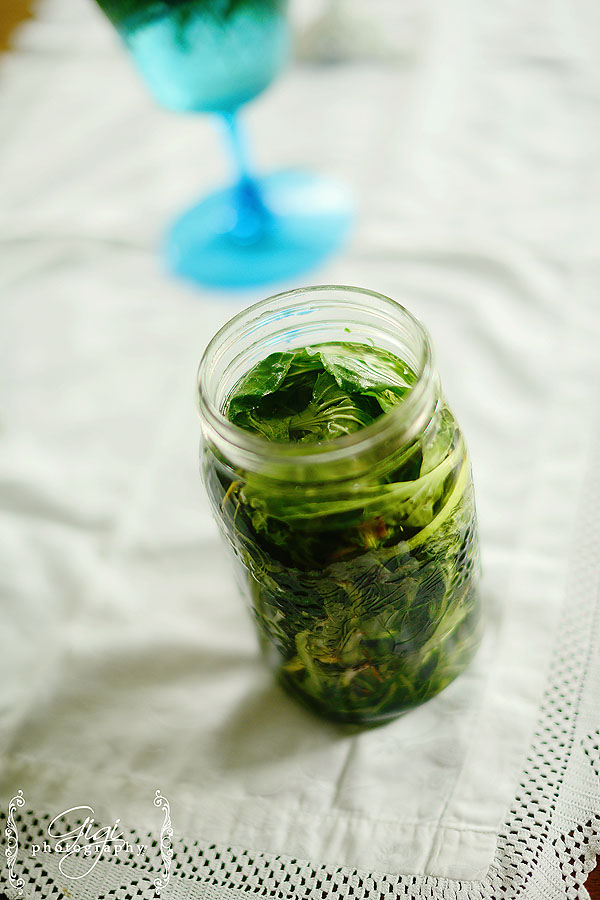
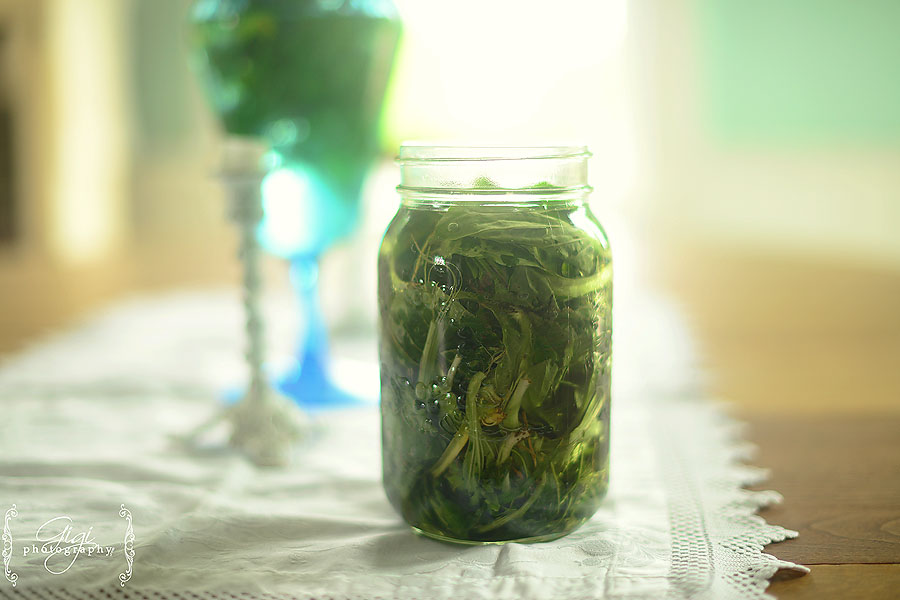
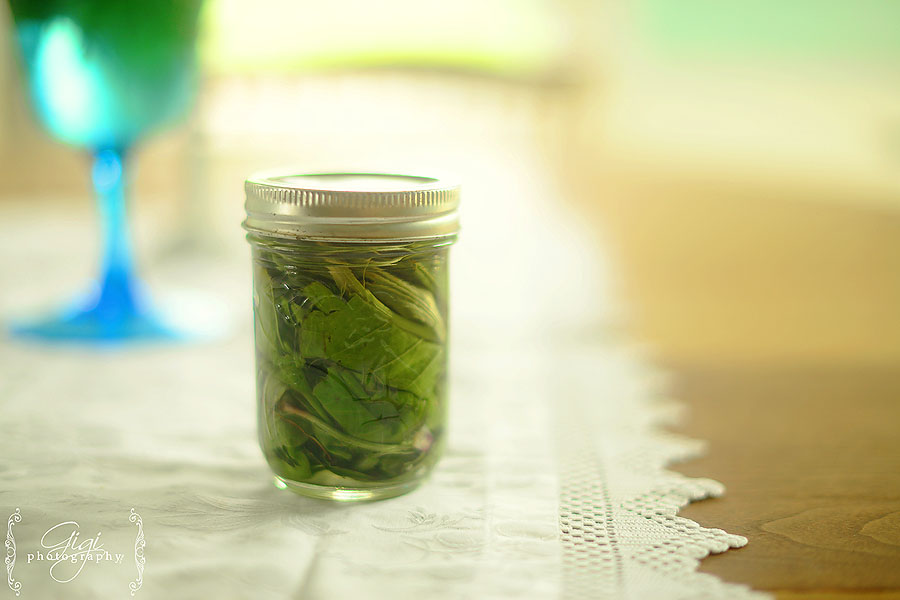
 Another way to preserve plantain is to make a tincture with the leaves. Once you have a picked enough to fill a mason jar, top off with 80 proof vodka, give it a shake and store in a dark location for 4-6 weeks.

by Gigi
8 comments