
Nothing says fall more than the smell of warm apple pies & toasty cinnamon rolls, fresh from the oven.
Last week, we worked on the apple pies (which I meant to write about but wow, does time fly right now!) and this weekend, I think we all felt the craving for cinnamon buns.

They are so simple to make – and truly, there is just no comparison to homemade, as well. Purchased cinnamon buns just do not go over well in this house. I was spoiled by my mom, I suppose, as she always made homemade – so therefore, my tastebuds can only agree with the same now as an adult.


I have been asked to share a recipe for the cinnamon buns before, but I just find it hard to say “This is my recipe” because, besides the dough, I haven’t measured my ingredients in years.
So let’s just start with the dough part. You can find the recipe for the dough here. Today, I mixed half whole wheat and half white – just to make it “half” healthy….? Perhaps.
While you dough is rising, you may melt your butter any way you like it. We melted the butter over the warm cookstove as it was already warming up for the baking of the day- roughly a cup or more of butter should be good, depending on how much dough you have made. We doubled our dough recipe and so therefore, we melted about two cup and a bit for all the dough.
Once your dough is ready … using a floured work surface, roll out it into a thin, rectangle shape. Pour your melted butter all over your lovely, sweet smelling dough. It will get messy and it is good to do this on a surface that is easily cleaned afterwards. Next, sprinkle brown sugar and cinnamon all over the dough surface. {We make our own brown sugar by mixing molasses and cane sugar together.}
Again, I’m not so great on the measurements here – just liberally sprinkle the sugar (cane, brown, etc.) all across the rectangle dough,
sprinkling cinnamon on top as well. (You can now add raisins if you wish to your rolls –
in my family, I am the only one who likes raisins, so sadly, I skip this step and sometimes just pop a few into my cinnamon roll before I eat it.)
Now comes the messy(ier) step.
You are going to roll your dough, just like one long cinnamon-bun-snake, and tuck the ends up – if you can – to keep the sugar/butter mixture from oozing out.
It will still ooze – be sure – and there will still be a mess to clean up.
Once your cinnamon roll is rolled, take a serated knife (bread knife) and begin by cutting your role pieces, roughly 1.5 inches wide (or less).

Place your cut cinnamon rolls into your buttered dish – as many as you can fit.
Place in a warm location to allow to raise for an hour or so (depending on how warm).
Once the buns have raised sufficiently to your liking, pop them into a hot 350 degree oven. Bake for about 15-25 minutes, or until tops are nicely browned.

And that’s it! The hardest part, I think, is the cleanup – but it is nothing a warm, soapy dish rag cannot tackle easily enough.
It is certainly worth it once those lovely cinnamon buns are finished baking in your hot oven.

Once you have cooled the cinnamon buns slightly, you may choose to drizzle some icing overtop for added yuminess.
Sometimes I do, sometimes I don’t. This time, I chose to do so but I usually skip this step and just enjoy them as they are – delicious, ready to eat, warm and gooey, cinnamon buns.
I hope you find time to make some of these lovely treats this week. I’m sure you family will love you for it! 🙂
Linked up with Strangers & Pilgrims

 {beautiful sunrise on a September morn}


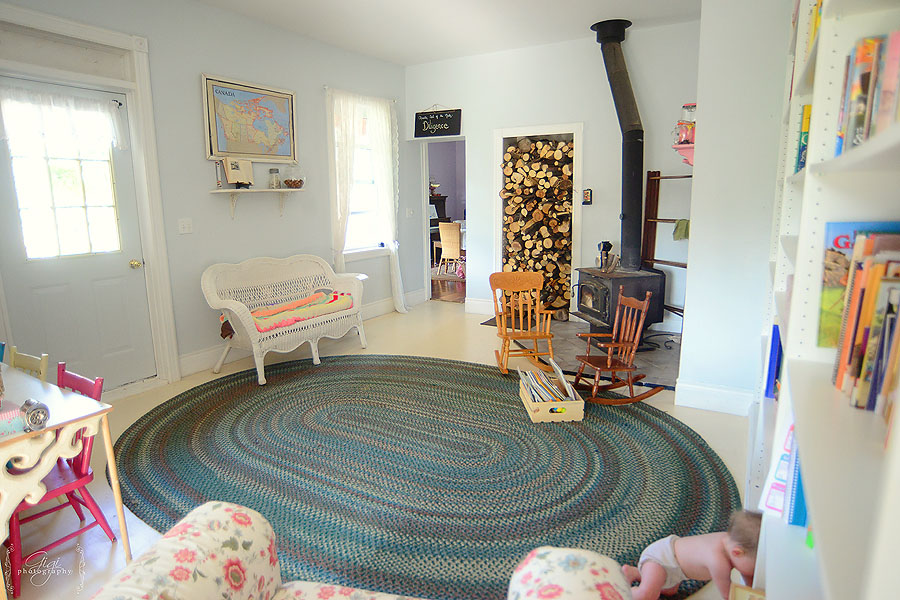 I may remove the little couch later and put a table there for the big girls for school work, crafts, etc. but we will see.
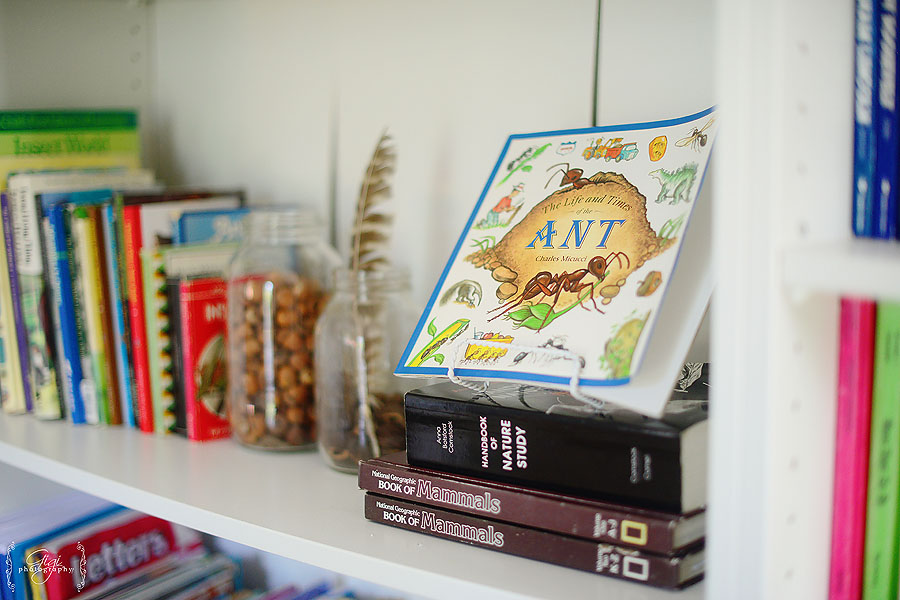
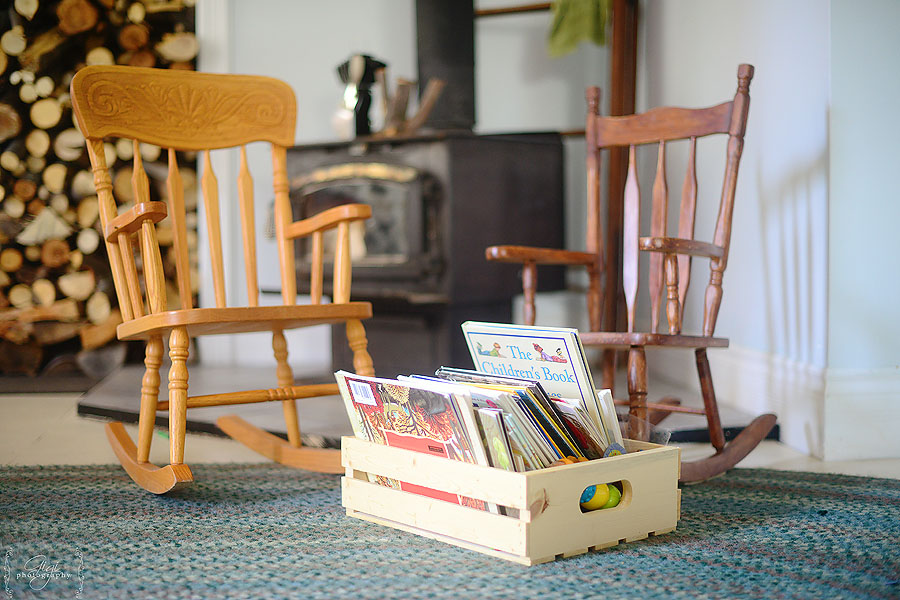
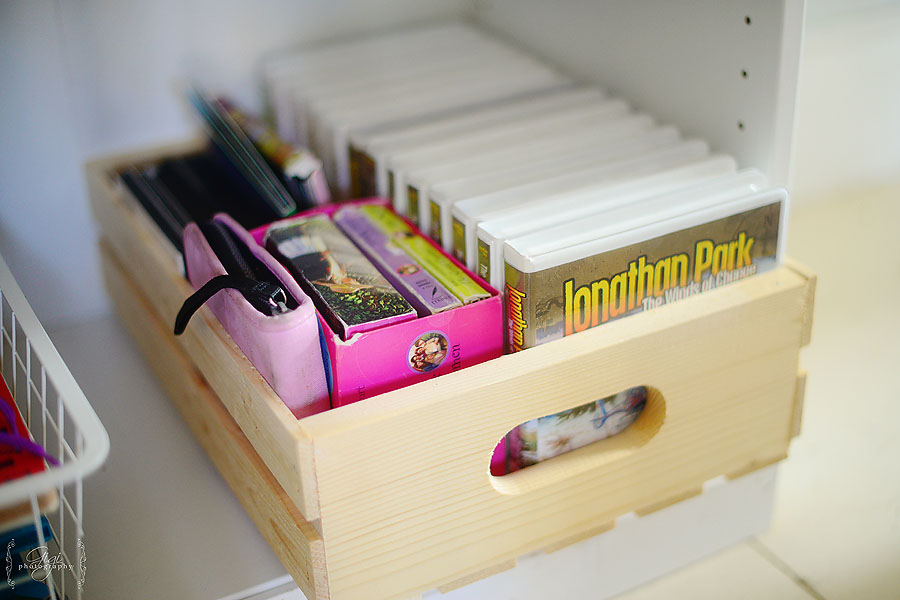
 our lovely new bookshelves …. where in the world did I put all these books before? We still have at least two (large-ish) bookshelves in nearly every room of the house. We LOVE books. 🙂 I working on making our home library as self sufficient as possible.
 … a chalkboard I made to remind us of the character trait of the month (I hope to write a post on that later)….
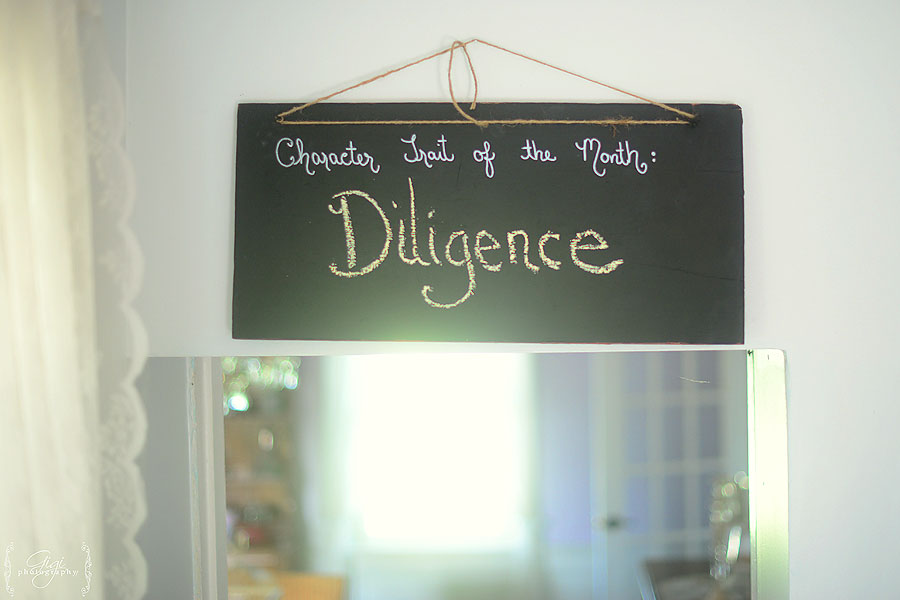
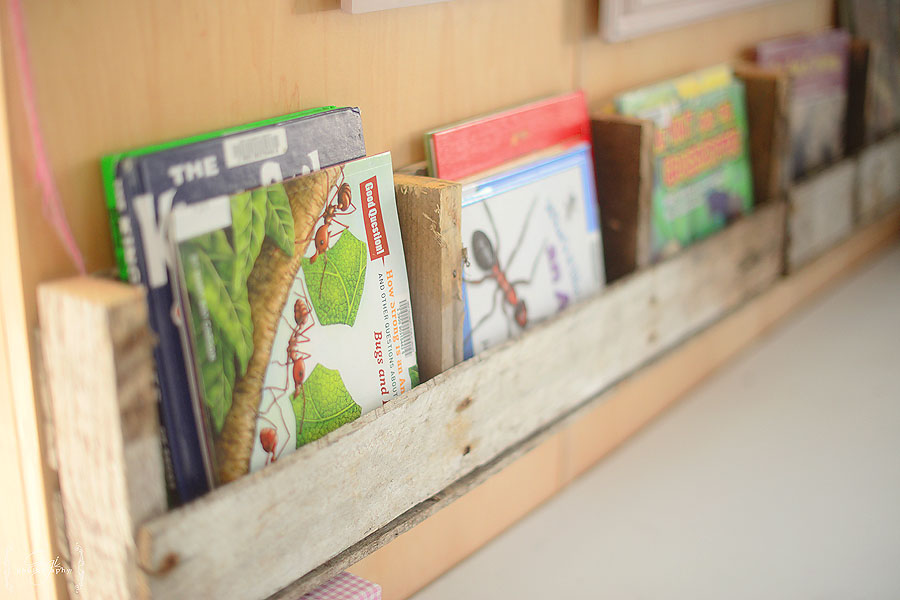
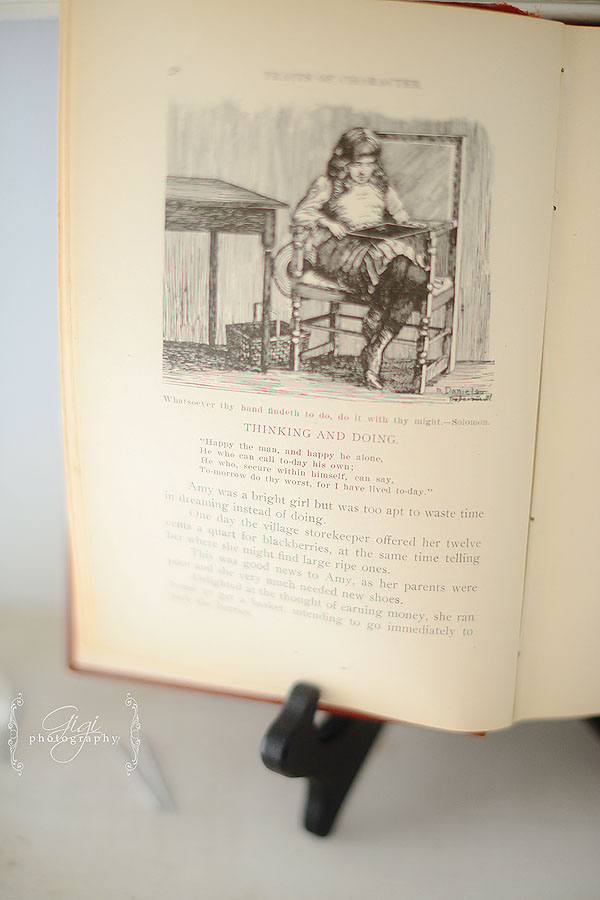 … the little girls’ writing/work space … and a handy book ledge that Abby made from a recycled pallet …
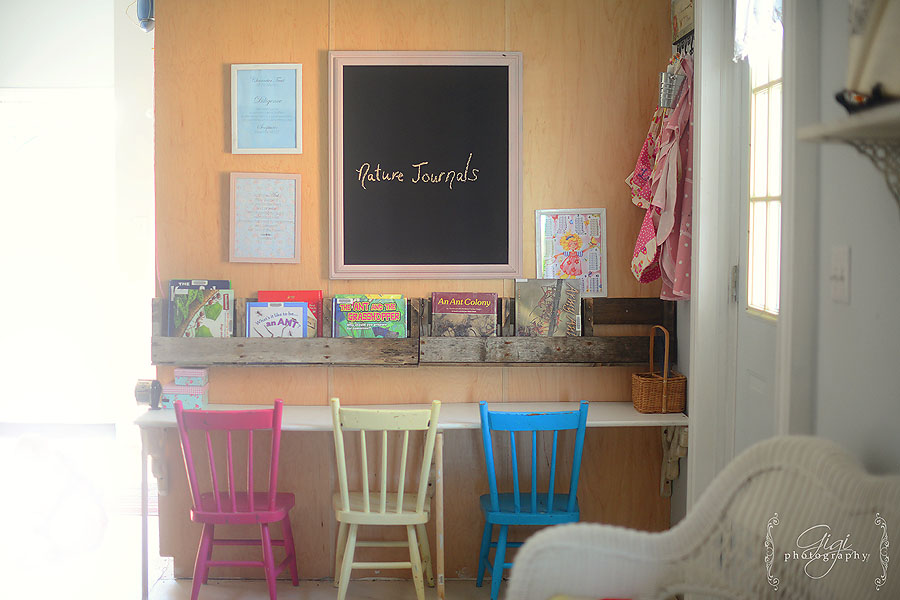 It holds our library books so they do not get confused or mixed up with our regular reading material (oh, you homeschoolers know what I am talking about …)
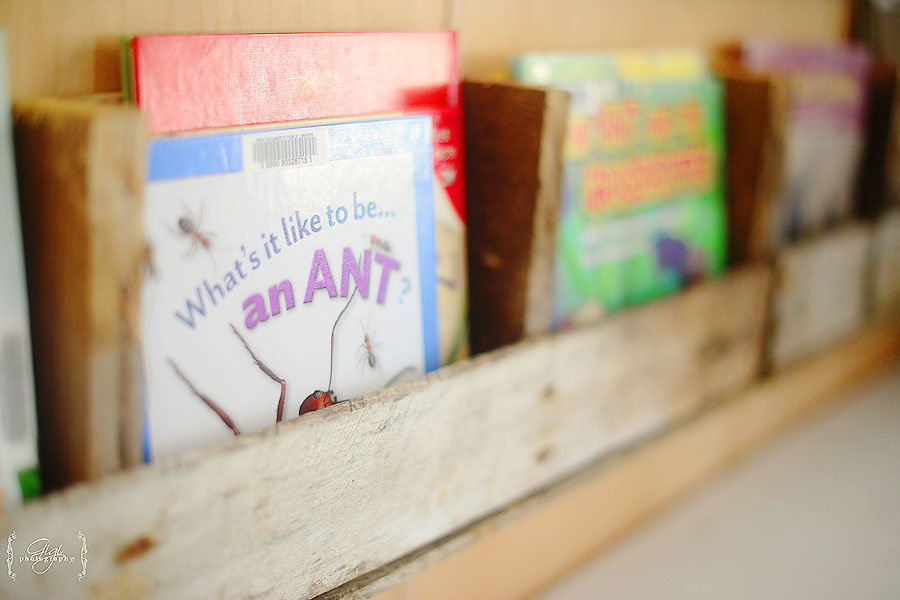


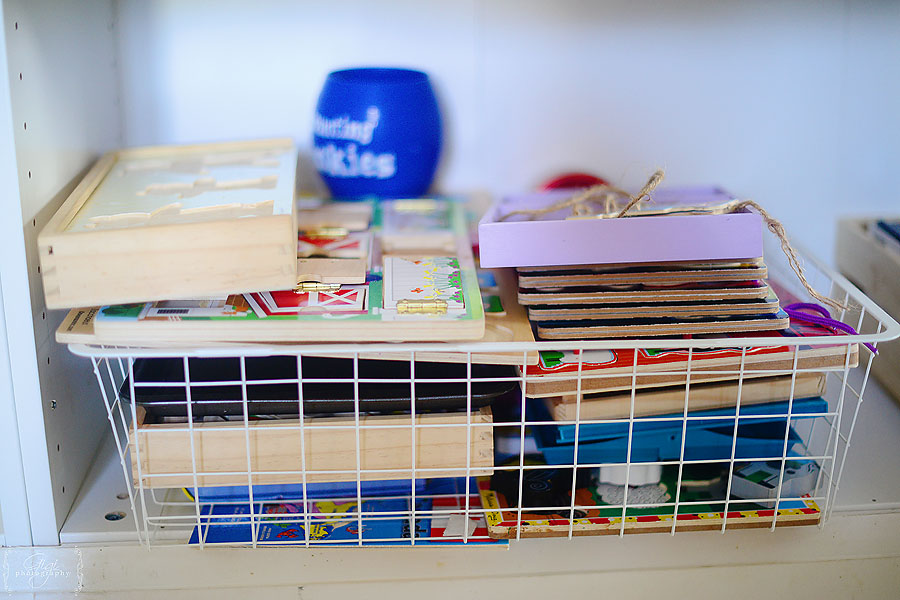
 and a basket of toys and puzzles for all the little ones to play with …
by Gigi
3 comments