Hello. My name is Gillian.
And I’m addicted to canning.

Seriously. I TOTALLY love canning … from cherries to blueberries … tomatoes, salsa … apple sauce … strawberries … oh my. I just LOVE it all!

I love involving the girls …. either by squashing up the berries …
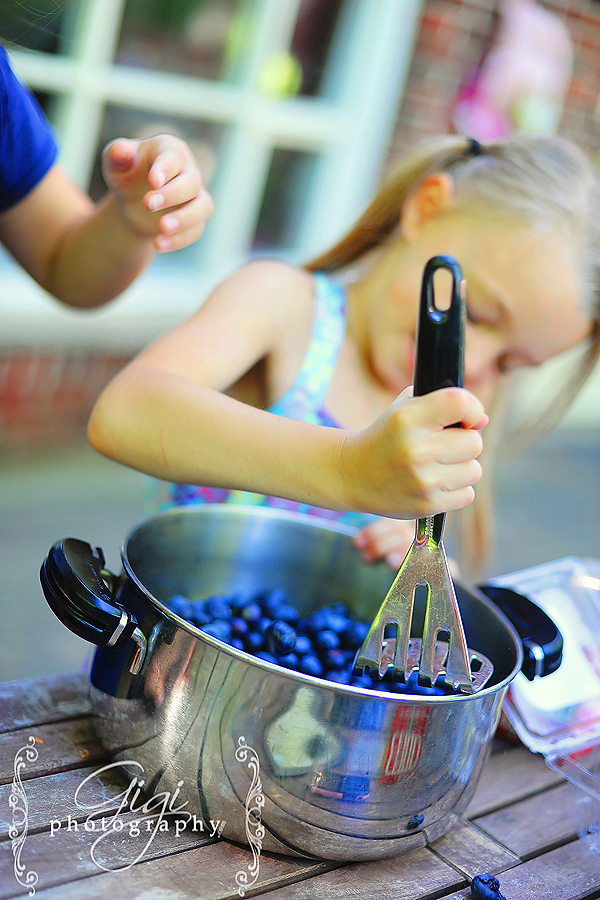
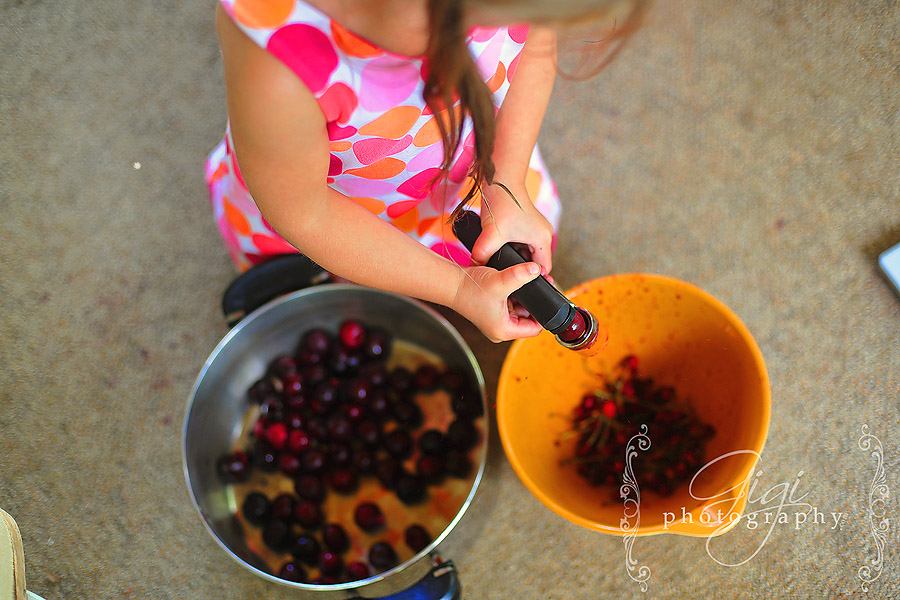
or pitting the cherries … it’s fun and dirty and messy and the kids love it.
This week, I canned tomatoes, posted it on facebook and had a lot of friends ask me how I did it. Of course, this is only my second year so I’m not a PRO or anything – and anything I’ve learned is straight from my mom and gramma… {Look at those two beuatiful women!! This is a picture from last year’s canning-fest}

So this year, I photographed each step of my tomato canning for those who asked about it … thought maybe it would help some of you out ….
Step 1). Buy tomatoes. Big, red, lovely tomatoes. Last year, I made the mistake of buying small tomatoes that needed to be peeled/skinned – what a pain in the bum that was! This year, I bought large field tomatoes that did not need to be skinned (much easier). Yes, I planted tomatoes in my garden, but hmm, something is making my tomato plants whither so I am not counting my tomatoes before they are red, so to speak.
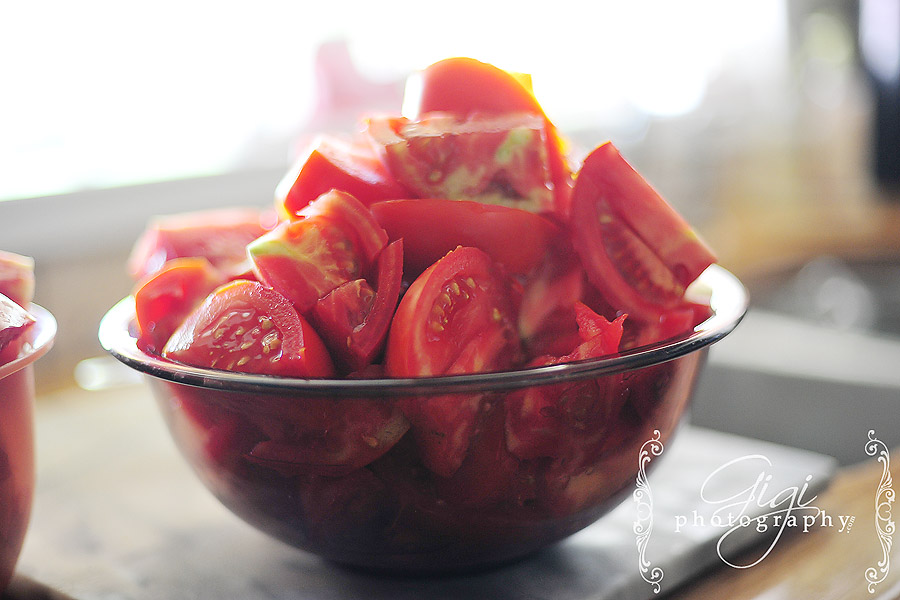
2) Wash tomatoes and cut up.
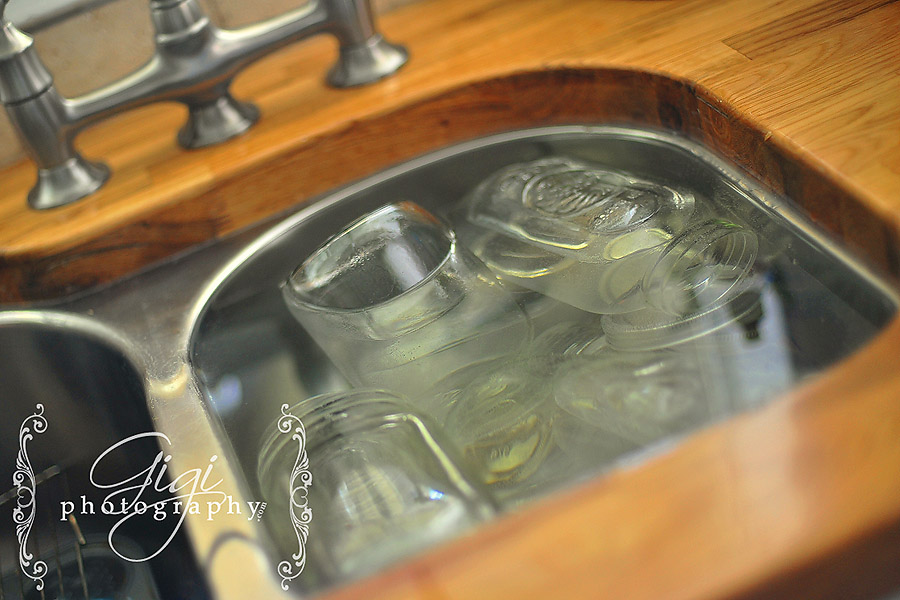
3) While you are getting your tomatoes ready, wash and sterilize your jars and keep them in hot water until you’re ready to use them. Also, get your big pot of water boiling.
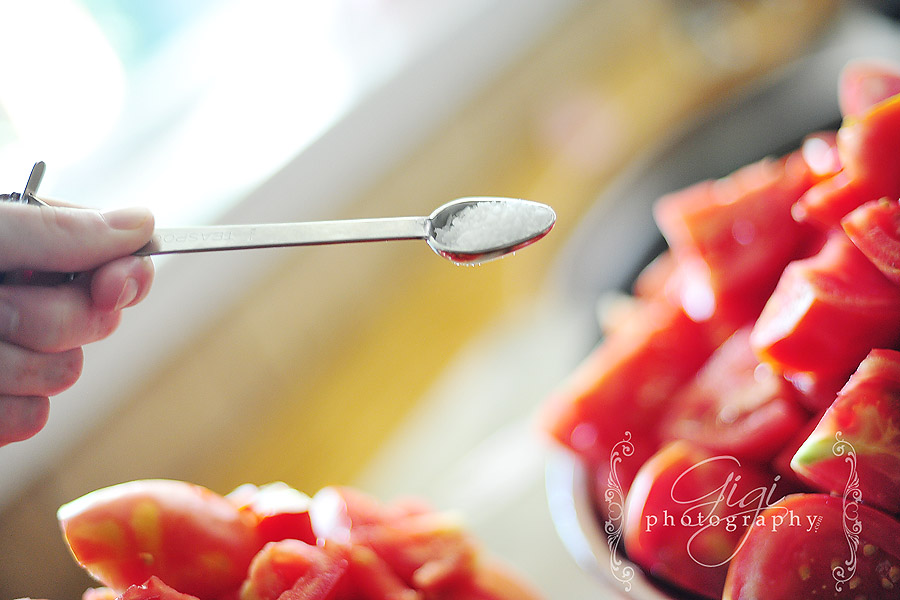
4) Once your tomatos are ready, line your jars up and drop 1/2 a teaspoon of salt in each jar.
5) Start packing the tomatoes into the hot jars. Use a spatula to squish the tomatoes down and get rid of air bubble or else you’ll be left with too much space at the top of your jar. (Been there, done that!) {Sorry the picture is so small – already deleted the original and can’t resize it.}
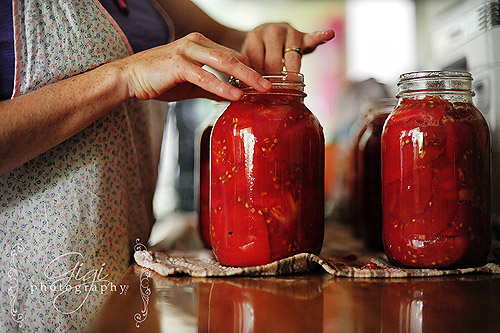
6. Fill the jars up nice and full, then wipe off the rims of each jar with a warm rag. This will make sure the top seals properly.
7. Once wiped and clean, screw on the lids ….
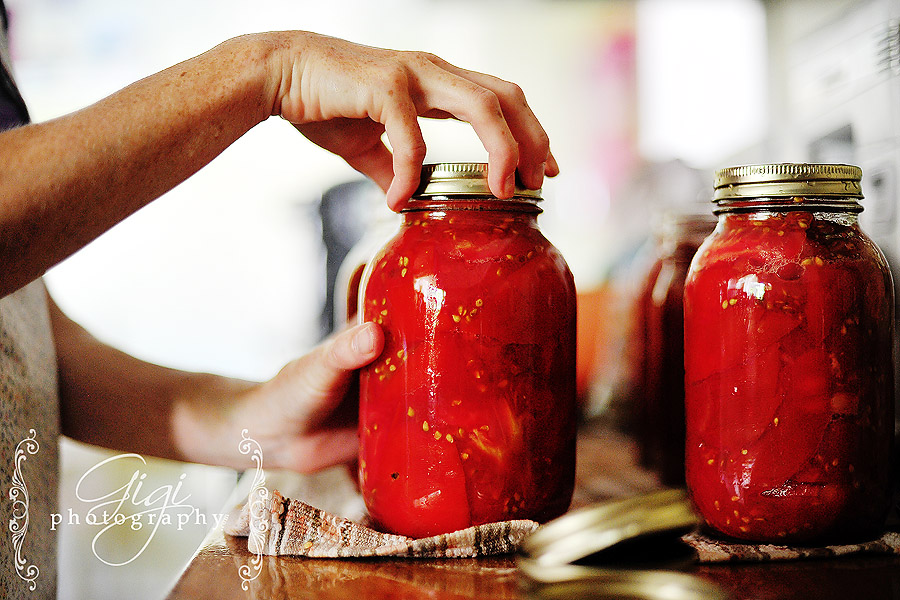
.. and place them in the whatever-it’s-called- canning rack? I have no clue. :S
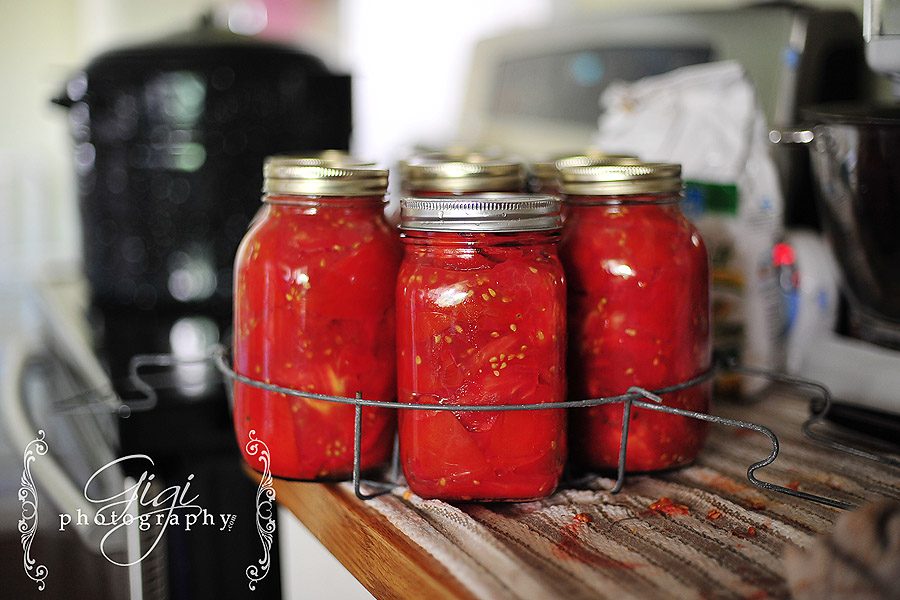
8) Immerse jars into the boiling water and leave for quite a while … make sure the tops are covered with water. The length of time varied for me with each batch, but I had to wait until the tomatoes were cooking inside the jar (bubbling away nicely) before they could come out of the boiling water. I’d say 30 minutes or so …
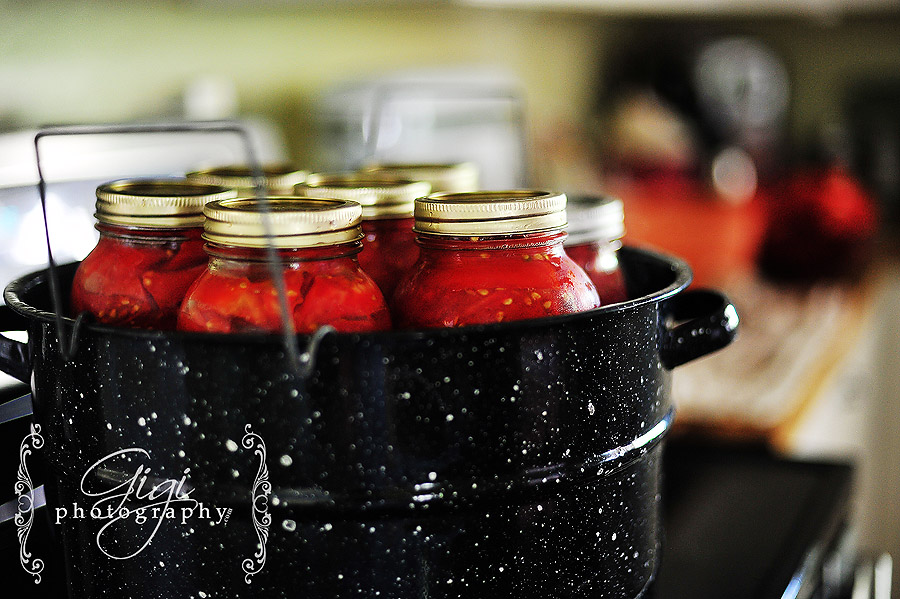
9) When done, lift out your jars for cooling — and listen to the happy ‘popping’ sound to come!
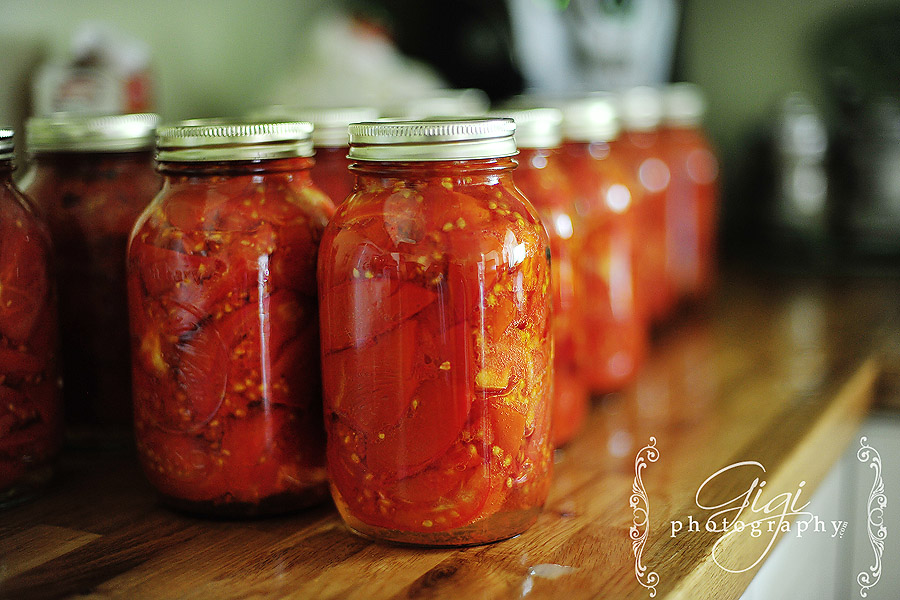
And there you have it – a year’s worth (hopefully) of gorgeous home-canned tomatoes! You can use them for anything – recipes, sauces, chicken dishes … anything!
ENJOY!

by Gigi
9 comments