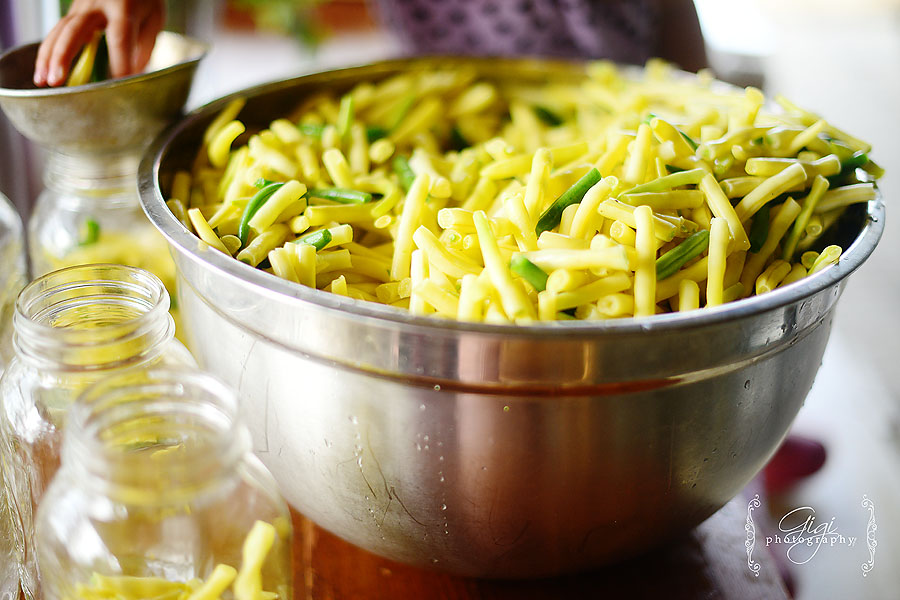
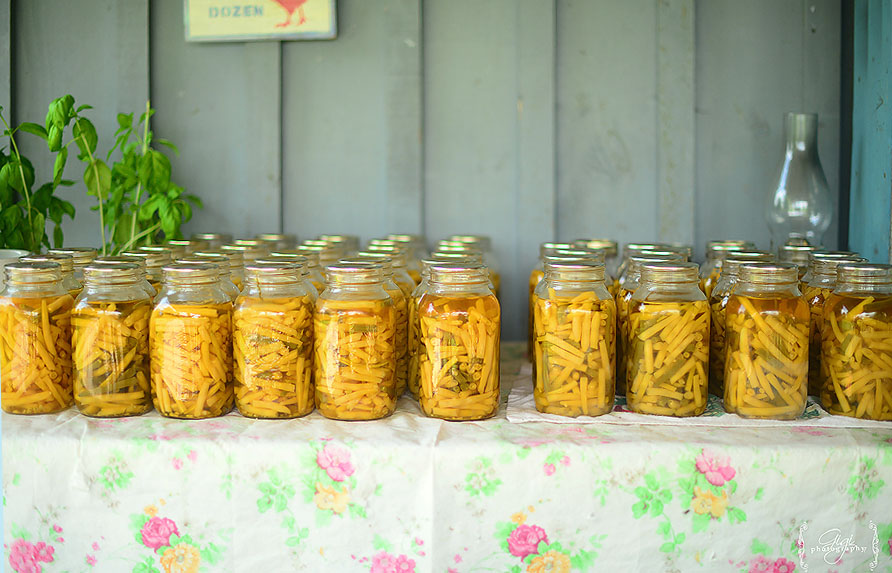
Green and yellow beans. Are they not a staple in most canning pantries?
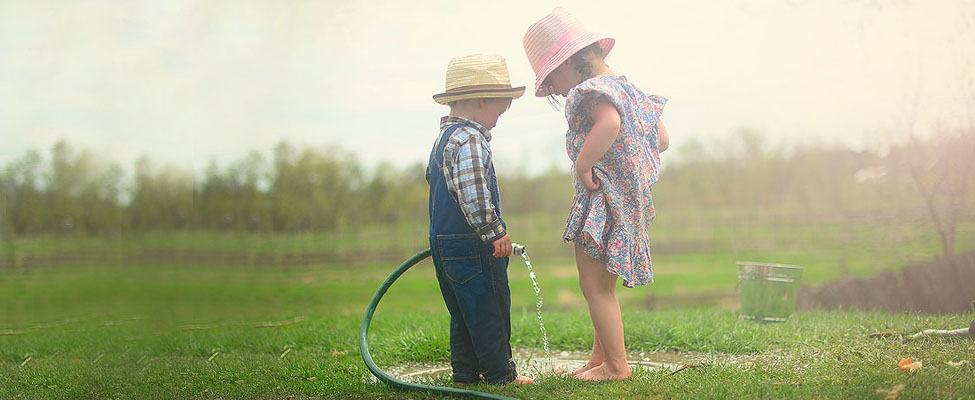
I have fond childhood memories of snapping beans with my brother and sister while watching old black and white movies in the our cool basement … then hearing the noise of the pressure canner in our blue and white kitchen the following day as my mom canned up beans for winter.
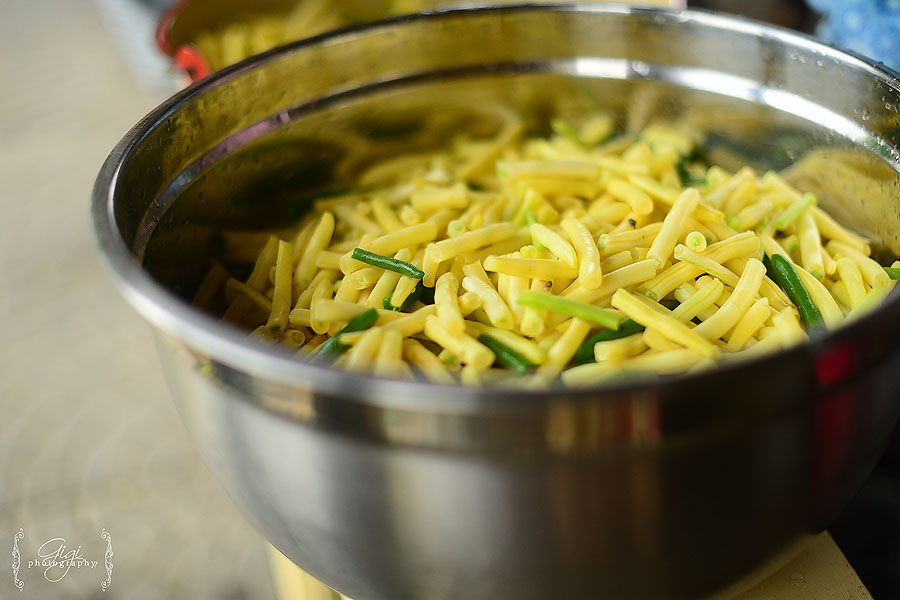
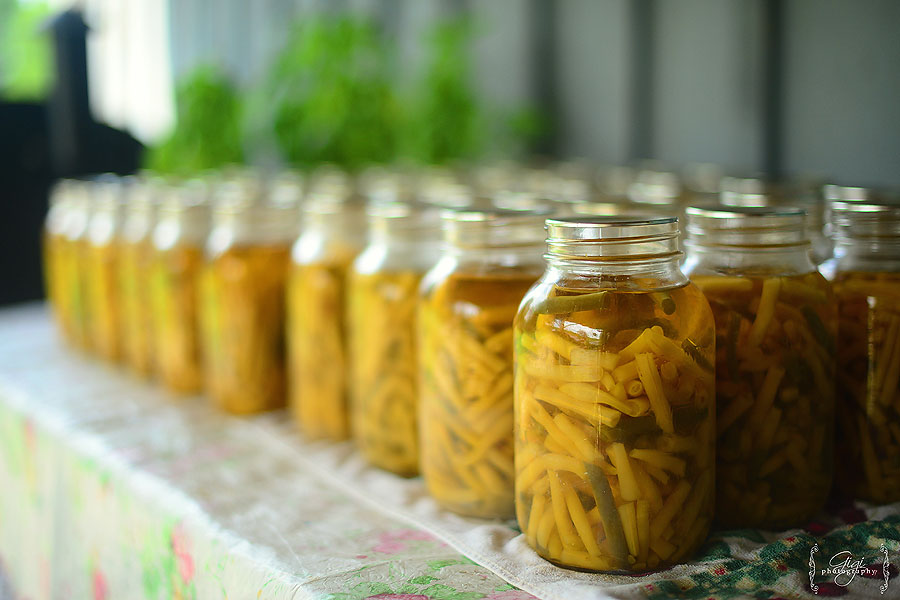
Two bushels later, the girls and I are finished the green and yellow beans for winters. What a great feeling to wipe down the jars and know you have fully stocked your Provision Room with fresh organic vegetables. We work in the morning and try to finish the messy work by lunch time, giving the afternoon time to run the canner and allow the children to play outside and have a summer day of pressing flowers, jumping on the trampoline and riding their bikes. Often times, I find canning stretches two days, so be prepared when you are going to can something to give yourself some room for prep, the actual canning and cleanup.
I thought I would add a few tips to help you out during your busy canning season:
- Have quick easy meals ready to serve your family at meal times. I find on days I need to can all day long that having a quick lunch or dinner to serve your hungry and ever-needy family is helpful. This would be a great time to pull out a freezer meal you have prepared, or even a store bought meal (at least with some of it from the store) to help you out. Your time will be limited and you will not be able to devote all your time to cooking meals for the day. A crockpot is your best friend during the canning season.
2 . Prep your fruit or veggies ahead of time. If you can prepare your vegetables or fruit the day before or even the night before, it will also help your workload for your canning day. Not all fruits and vegetables are able to be prepped ahead of time, but things like carrots, zuchinni, even applesauce can all be made the day before, then warmed up before canning.
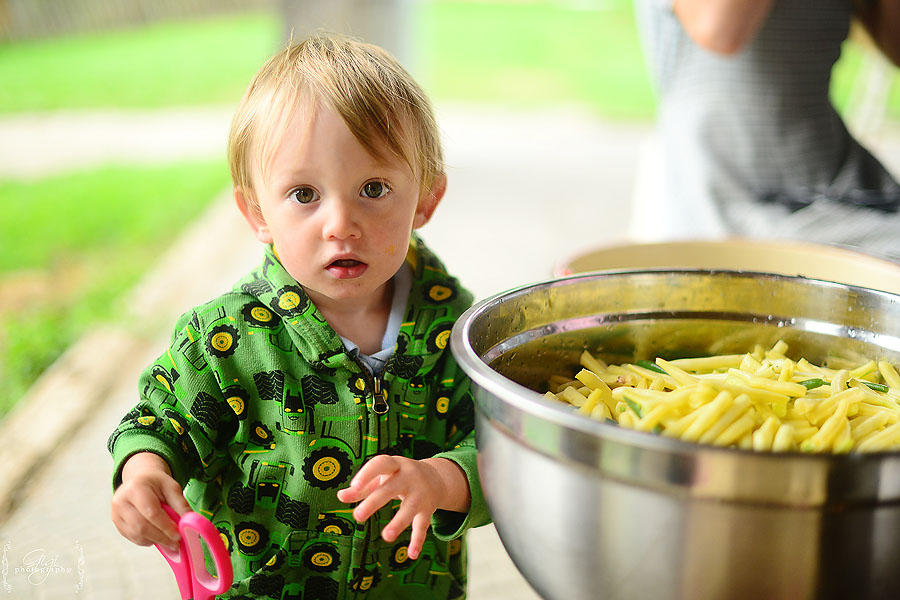
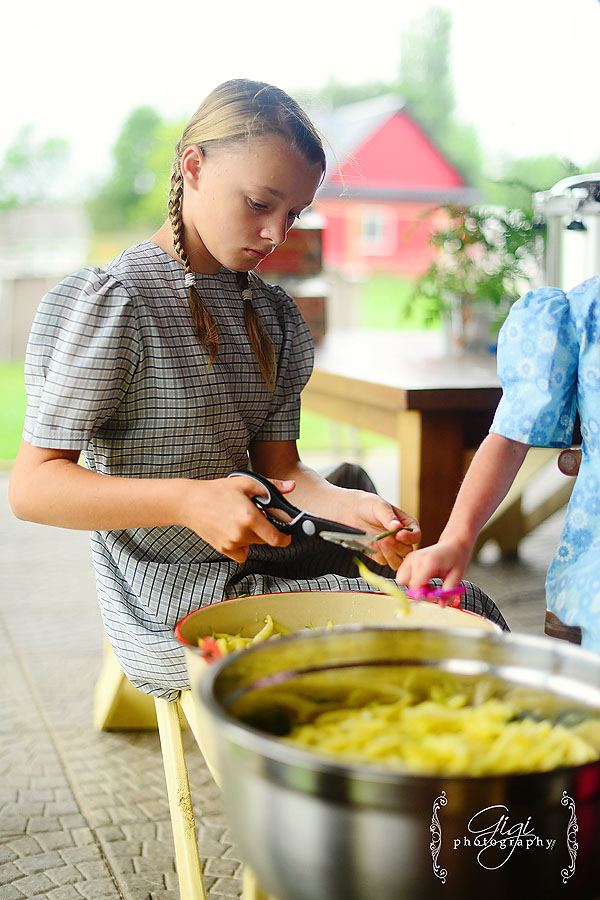
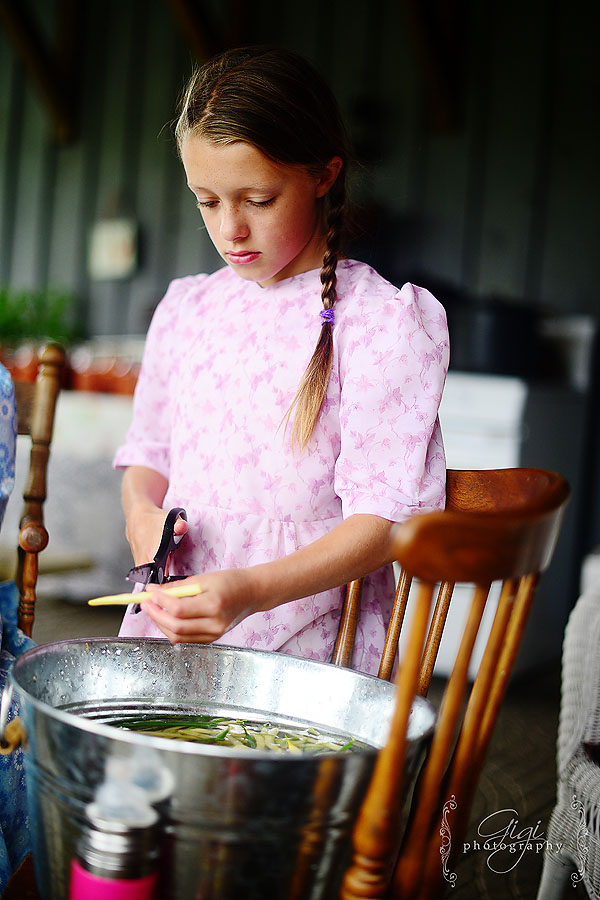
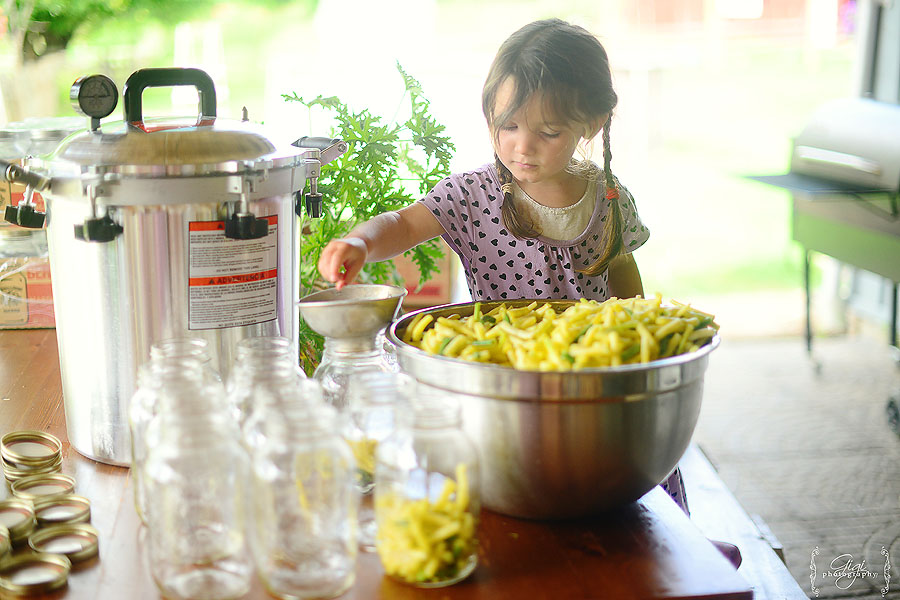
3. Have your children help. To some, this may not seem like a good idea, but many hands make light work. Children love to snap beans or cut up apples for applesauce, chop zuchinni (nice and soft for them to cut) or help lid the jars. There are lots of ways for them to help. Yes, it may take a bit longer and you may need more patience but you are also teaching them a skill. Think of it as home economics. Yesterday I had to leave to pick up a daughter at a friend’s house. I was able to leave my older girls in charge of filling the jars with our vegetable and lidding the jars to prep for the canner. It was a great help, even if I was only gone for 45 minutes.
4. Have all your supplies ready. There is nothing worse than being in the middle of canning peaches to find out you have run out of lids or sugar. Do a tally or a checklist and ensure you have all your goods ahead of time. Buy extra lids to have on hand. Our local dollar store sells the smaller lids for $2. I constantly buy those lids and have a drawer full. Also, lemon juice, salt and vinegar are a must for canning. Have lots in stock.
5. Start early and finish in time for dinner. If you can manage, start your canning work early in the morning, try to finish up the messy part by lunch and hten you will just have your canning to do in the afternoon. It makes it much more manageable. And when I say early, I just mean by 8 or 9 a.m.
6. If you are able, can outdoors! My grandmother Ann always canned outside, so I have been told, and I follow in that fashion. I rarely can inside, unless it is winter. Even in our last house, where we did not have an outdoor setup for cooking, I still prepped all the vegetables and fruit outside. This allowed the little beans ends to fall in the grass or the peach juice to trickle to the ground that can easily be hosed off. Imagine the mess in your kitchen! Ugh! It is not pleasant. Save your kitchen from being completely messy and move the process outdoors. I definitely love to can outside – and the benefit is you are still spending time with your little ones, seeing them play and enjoying summer. Find a table, set it up outside and peel those apples, dice tomatoes, or snap beans in the summer fresh air. In tomato season, you can set up a propane burner outdoors to help cook the sauces and such.
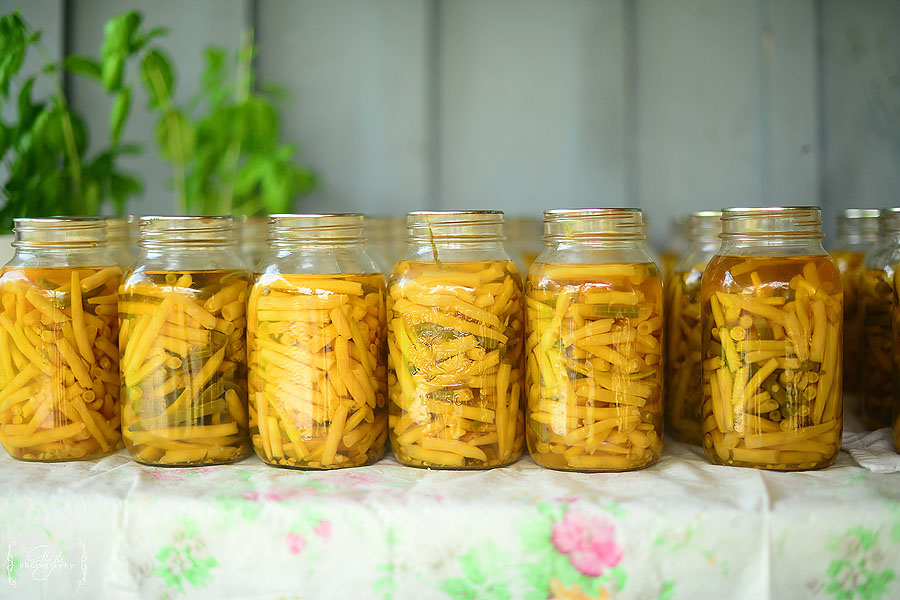
Now, for canning green beans, it is very simple and a great way to introduce yourself to pressure canning. (Green beans MUST be pressure canned.)
After you have prepared your jars and have everything ready, cleaned and lids in hot water, wash and snap your beans. (Or, rather, snap them the night before and save yourself loads of time.) Place them into your mason jars, packing them tightly. Fill with hot water and a bit of salt per jar. Use a knife to get all the air bubbles out of your jar. Wipe the rims, lid and seal.
As many of you do not live near my area, check your local altitude for your processing time for your particular pressure canner.
Follow this link for detailed instructions if you are new to canning.
Now, how do we manage our regular chores along with a busy canning schedule? That is another topic for another day!
by Gigi
6 comments