
Almanzo ate four large helpings of apples ’n’ onions fried together.
He ate roast beef and brown gravy,
and mashed potatoes and creamed carrots and boiled turnips,
and countless slices of buttered bread with crab-apple jelly.
‘It takes a great deal to feed a growing boy,’ Mother said.
-Farmer Boy
What’s this?
Another canning post?
It may return to life as normal (or is this the new normal?) someday but for now, it’s still time to be busy in the kitchen, prepping for winter, filling up the pantry and preparing to put away food.
I actually woke up in the middle of the night last night, sat up and calculated how many weeks of winter there are for our family. Yes, I know.
If we have approximately six months of cooler/cold weather here in the north when vegetables are not able to grow, that makes 24 weeks of needing a supply of food. Even in my groggy sleep, I calculated how I could feed our family without using the grocery store, unless completely necessary. Why, do you ask, do I care so much? Well, have you look at where your food is coming from in your local grocery store? Have you noticed that our garlic is shipped from China and sold in our local grocery stores, even though garlic is easily grown here in our area? Have you seen that even the baby cookies {President’s Choice} are also made in China? If you start reading labels on your food products, you will find out that most of the food – especially during the off-growing season, are not produced locally at all, even the items that are easily grown in our area during the summer. [Here is another article to read.]We have known this for a while – of course, that goes hand in hand with growing our own vegetables and raising our own meat (only chicken and ducks, so far – however, we have not purchased meat from the store in years as we purchase our beef from a local farmer).
The more you can produce for yourself and your family, the better off you will be.
So, with my estimate, we would need 24 weeks of hearty vegetable servings to feed the family, with a little extra for days we need to double recipes, etc.
I counted the butternut squash that had been harvested from the garden – and can you believe it, there are 24. God is good! One squash a week will certainly be a blessing!
Our corn that we shucked and cut off the cob, grown from a local organic farmer around the corner, has been bagged and frozen. Guess how many bags? 24 bags of sweet corn.
Praise the Lord!
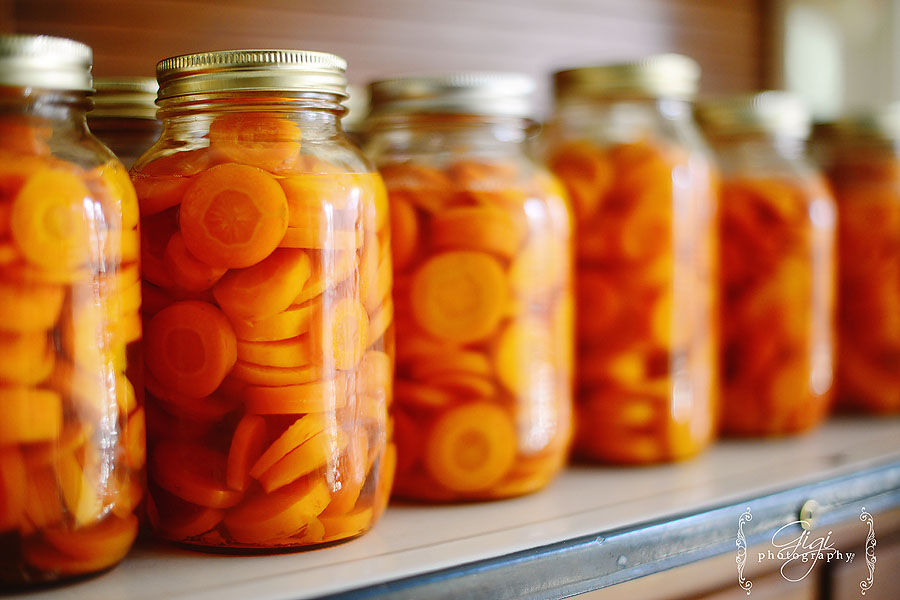
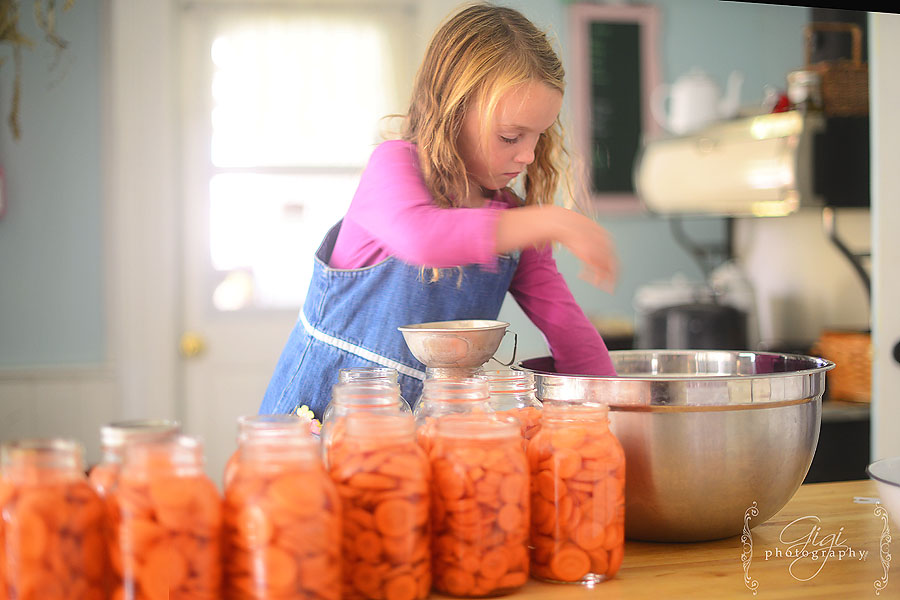
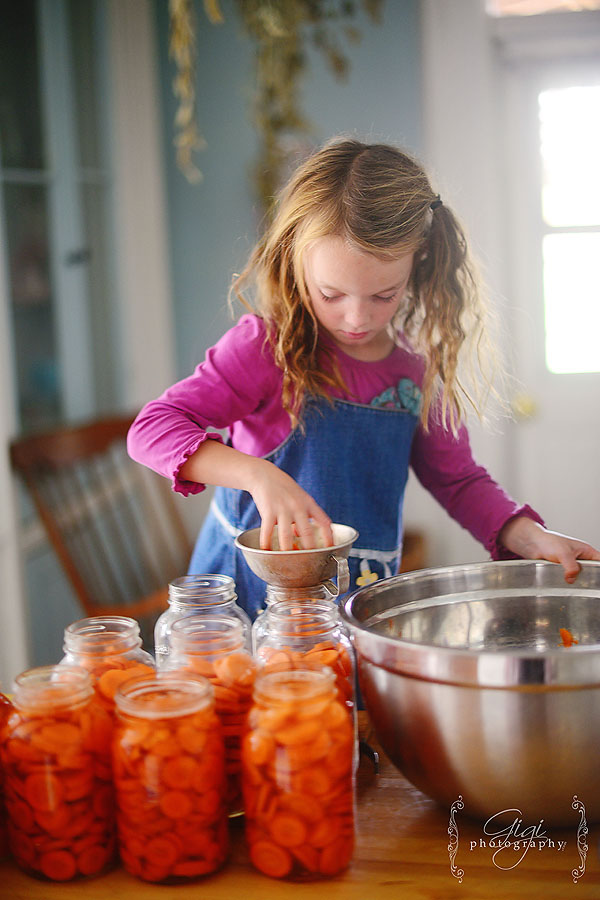
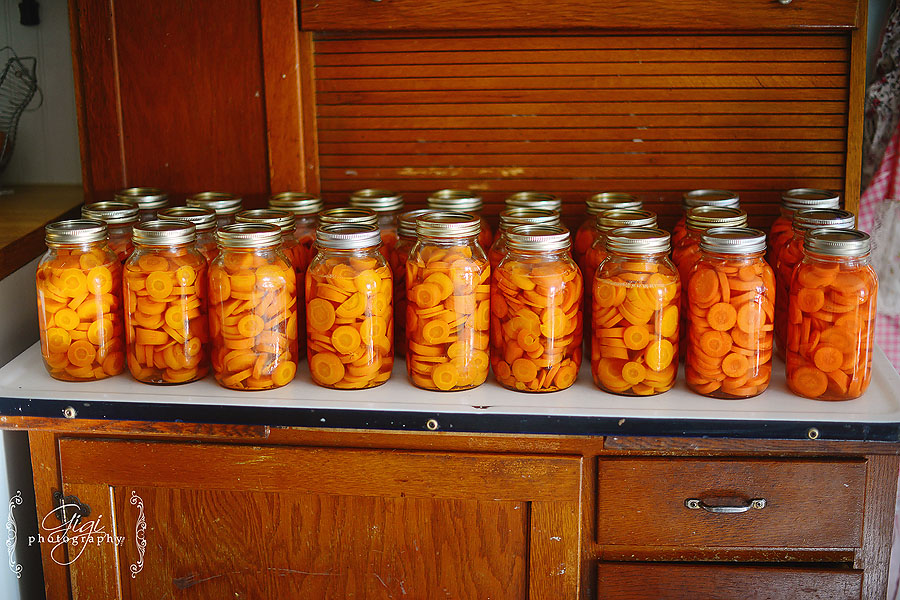
Now it was time to fill the Provision Room with those lovely, beautiful vegetables that we all love and adore – carrots.
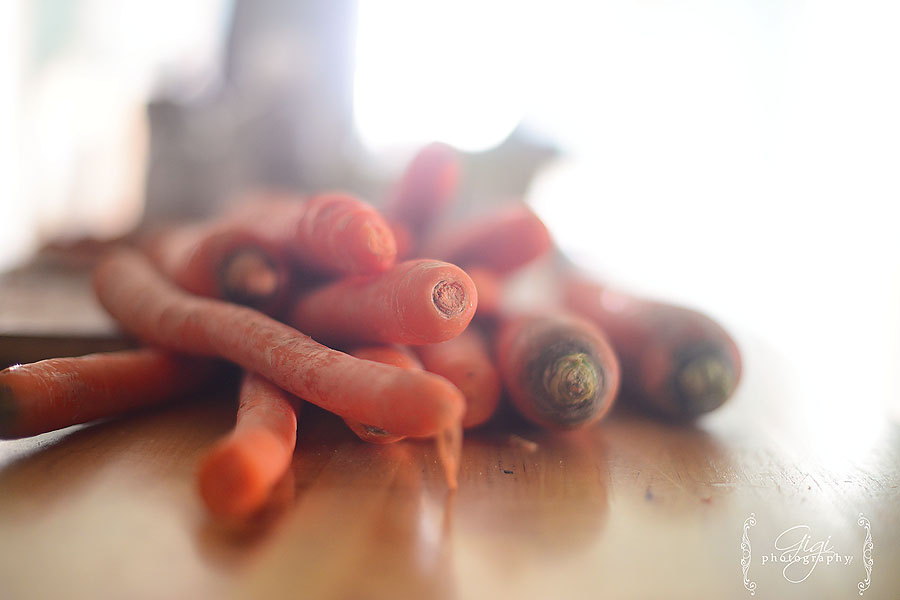
While we did not grow enough in our garden to sustain us for the winter months, we did grow some for eating during the summer. They are all gone now, sadly, however I know how many beds of carrots I will need to plant next season. In the meantime, there was a lovely sale of local carrots sold in bulk recently, something I had been waiting for patiently.
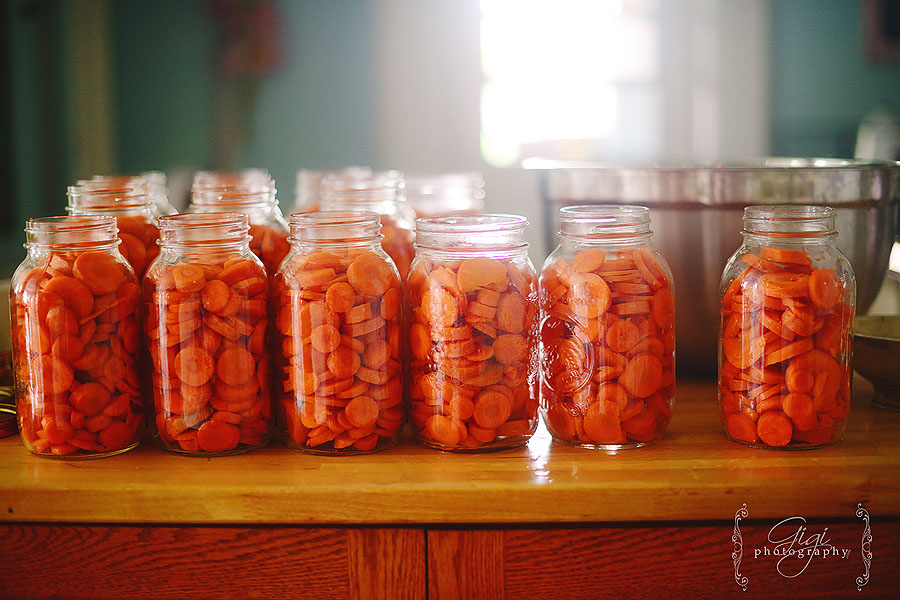
I was able to purchase 50 lbs. of carrots with intentions of canning them for the winter. I knew I would need approximately 24 jars of carrots, with 10 extra jars for those additional meals or perhaps even for baking.
I have tried to store carrots in my basement but they mold too quickly. I would prefer to keep them whole but I knew that I would not be able to do that – at least, not this year. So canning was the other option.
For canning carrots, you will need a pressure canner.
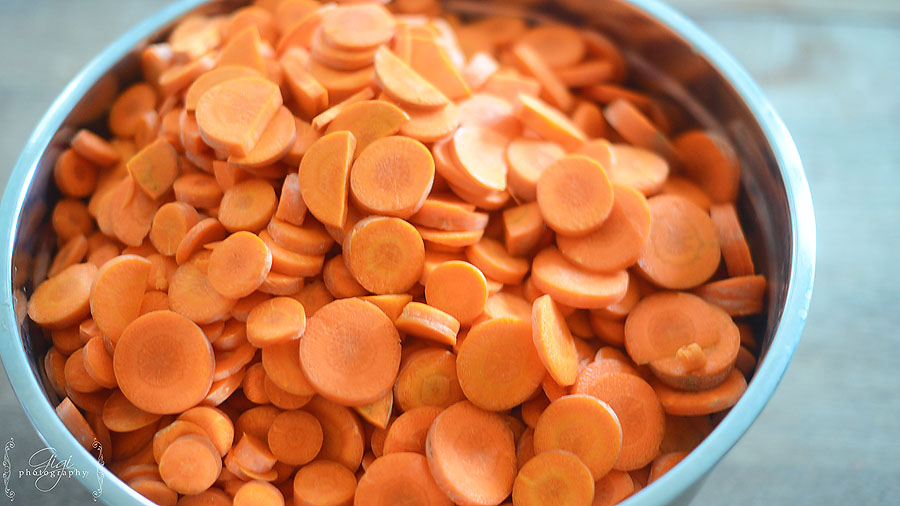
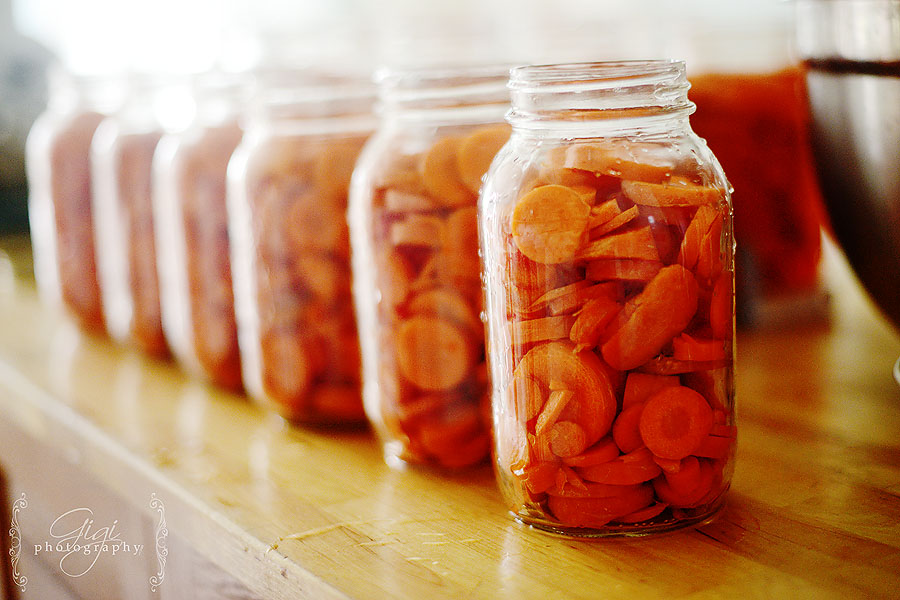
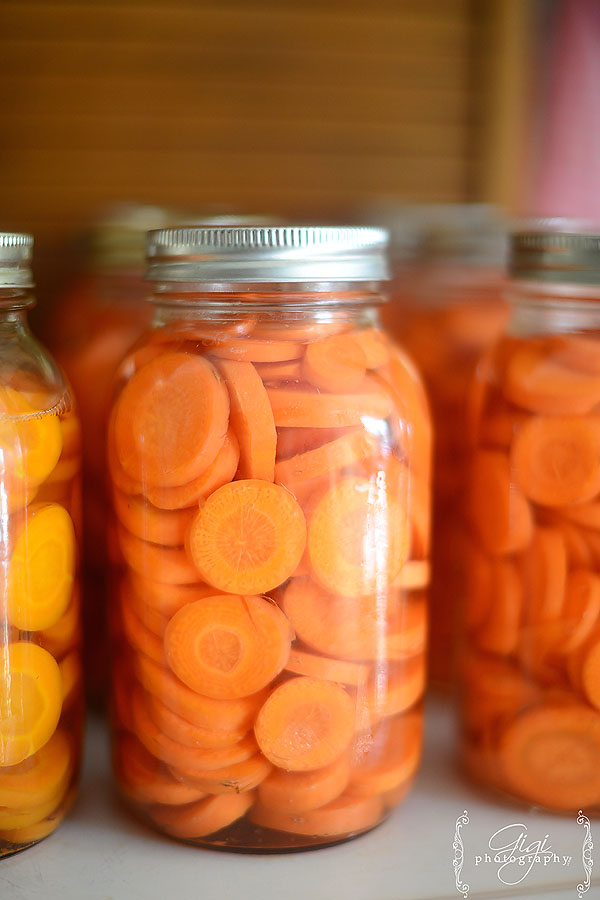
First, simply wash and chop the carrots up. If they are organic, you do not even need to peel them. There are loads of nutrients packed in the skin and just below so resist the urge to peel!
I prefer to use a cold pack method – which means the carrots were not cooked before canning.

Fill your jars to the elbow of the jar (leaving a 1″ headspace) and pour boiling water over your carrots.
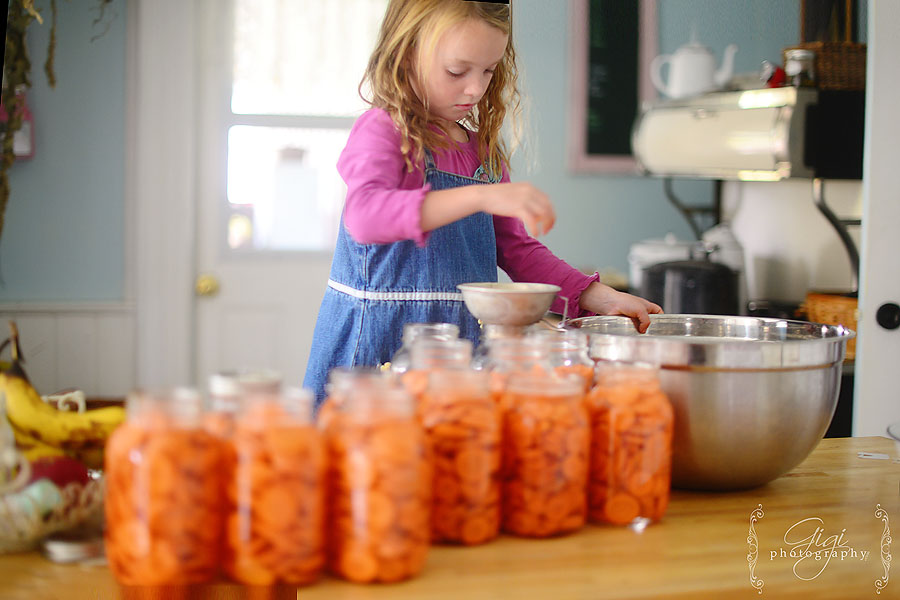 It is always more fun to have your little helpers join you in the kitchen. It actually did speed up my work as I just kept on chopping while she gathered the pieces and placed them in the jars. Thank you, Lovelyn, for your help!
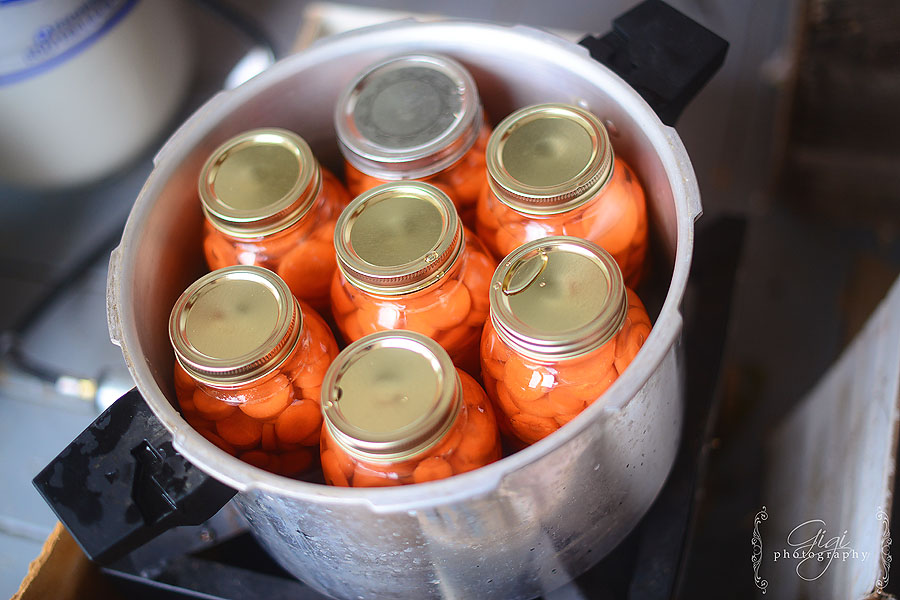
 Process your jars in your pressure canner for 25 minutes at 10 lbs of pressure (for my altitude, this is what is required – check your altitude for the required weights for your area). Every pressure canner is different so make sure to read the directions for your own particular machine.
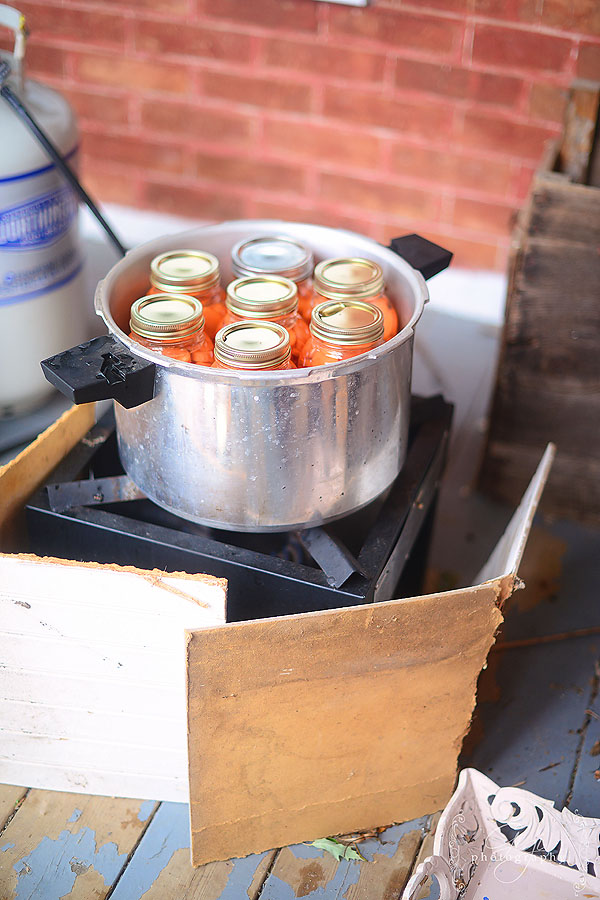
I took a picture of my “rustic” redneck setup of the propane burner outside so you could see how I do it. I have set up the wood pieces to block the wind from blowing out the flame (which can happen if it is windy). I would love to purchase a larger canner now that our family has grown in size but this is what God has blessed me with and I am using it to it’s full capabilities. 🙂
Once processed, allow the pressure to naturally decrease in your canner.
When it is safe to open the lid, place your jars on your counter and leave undisturbed for 24 hours. Check for the seals the next day.
{This is not all the jars – there were still more in the canner!}
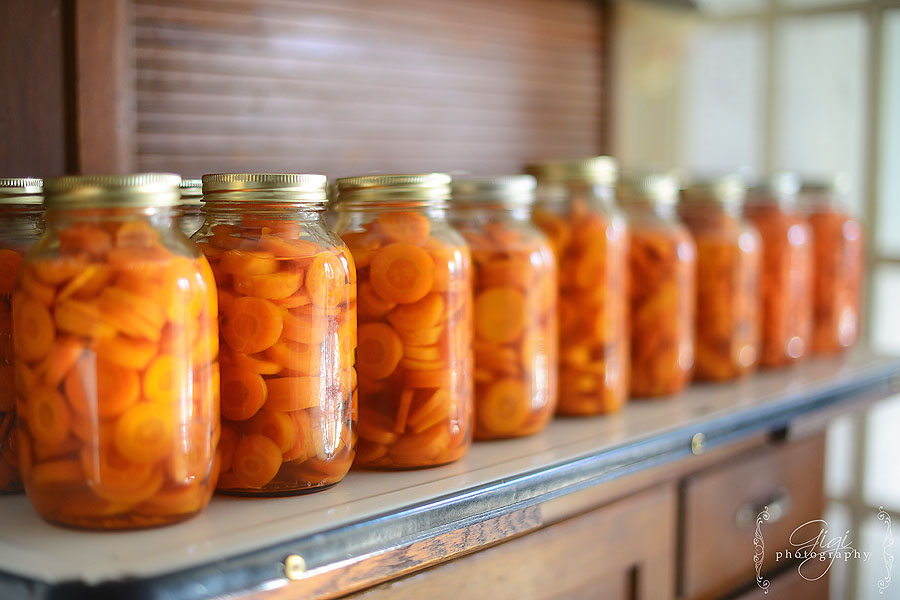
Place in your pantry, cold room storage or Provision Room and enjoy the fruits of your labour!
{linked up with Strangers & Pilgrims}
by Gigi
8 comments