“Pie is slow food in a too fast world. Pie is a loving gesture.
Good pie is simple, wholesome and real. You know what else pie is?
It’s sitting on the front porch glider having a lively conversation with family and friends, even thought it’s too hot outside
and there are a few mosquitoes to swat. It’s kids playing in the woods, crisp cotton sheets drying on the clothes line,
crickets humming in the backyard, and time enough to play croquet. Pie is home.”
– The Lost Art of Pie Making
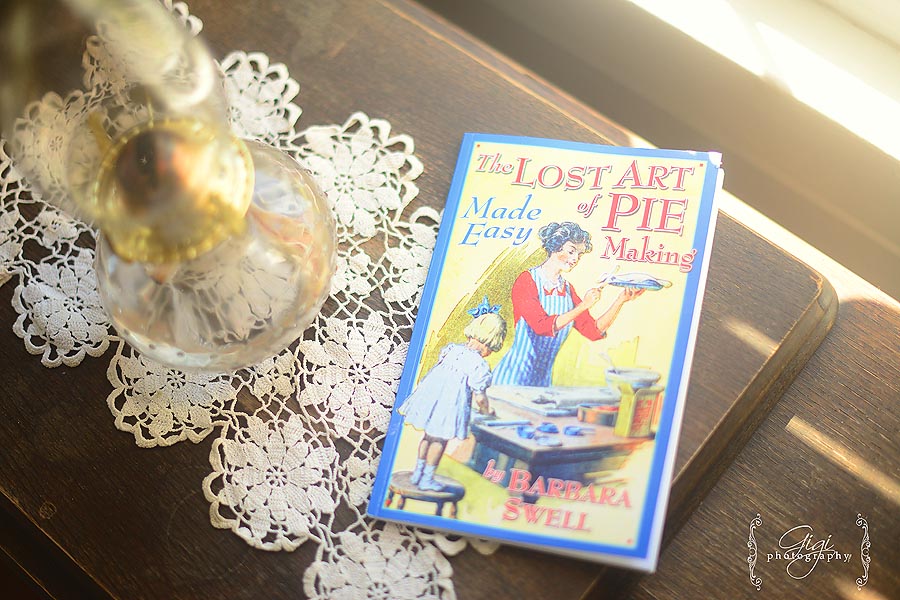
My sweet friend, Kate, gifted me this lovely recipe book during her visit to our home recently.
It’s just what I was looking for … time-tested-truly-scrumptious recipes, all about pie making! When it comes to making pies, I’m up against some pretty stiff ‘competition’ – the the standard is pretty high in my family. My amazing mother can perfectly construct the most gorgeous magazine-worthy pies you’ll ever see … my grandma can whip up pastry and have the loveliest goodies to serve at get-togethers and my mother-in-law can make scrumptious pastry and tarts to please the most skeptical critics.
And then there’s me … who can barely manage to lift the rolled pastry properly onto the awaiting pie plate … yes, I have baked pies for our family before but rarely take a pie out in public to a large gathering. I know there are others who have mastered pastry so much better – why compete?
But … I am a bit stubborn. Certainly not a perfectionist. But I do like to accomplish things {who doesn’t?}. And proper pie making has been on my homemaking bucket list for some time. Even if it just to serve my family or guests at the dinner table … after all, is there a sweeter way to show love to your family than serving them warm, home-baked-with-love-pie made from scratch?
In my estimation, if I attempt to make at least one pie a week over the summer months, I may be ready for Thanksgiving’s elaborate pie buffet spread.
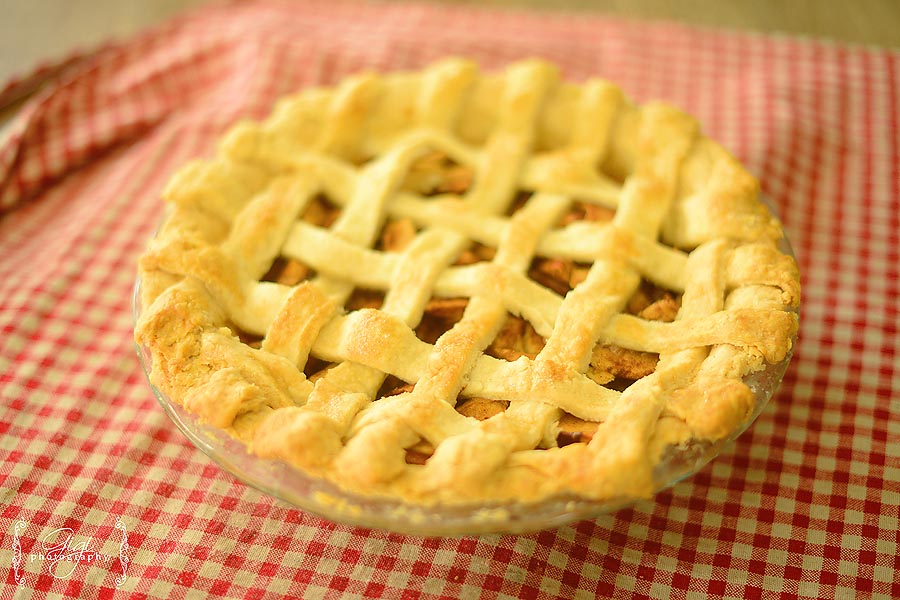
To try out the new recipes, Kate and I made two batches of pastry (one with butter, one with shortening).
Here is the recipe we followed from this darling book:
For pastry with shortening:
3 cups of flour
a pinch of baking power
1 1/2 tsp. of salt
1 cup plus 1 tablespoon of Crisco
1 cup of ice water (you may place ice cubes in your water or place your water in the freezer)
And here is the recipe for the butter version:
2.5 cups of flour 1 tsp. of fine salt
pinch of baking powder
1 cup of COLD cubed butter {unsalted}
1/2 cup of ice water
2 tsp. of lemon juice
The instructions are the same for both pastry recipes. Mix the dry ingredients together well. Cut the cold butter or shortening in with a pastry cutter until the mixture resemble small pea like bits of flour dough. Add the lemon juice to your COLD water and sprinkle the water one tablespoon at a time into your flour mixture, mixing with pastry cutter.
According to the book …
“You want the dough to stick together when squeezed, but it will be a bit dry. Too much water makes a tough crust. Too light and your dough will not hold together.
Divide your dough into two balls, flattening them just a bit. Wrap them into plastic wrap and place in the fridge for a minimum of 1/2, or even better, overnight.
When ready to roll out the dough, lightly flour your surface. Let your dough sit out for 15 minutes. Roll your dough out as thin as possible giving it a quarter turn every few rolls. When it is properly rolled out, place it gently into pie plate, trim edges.”
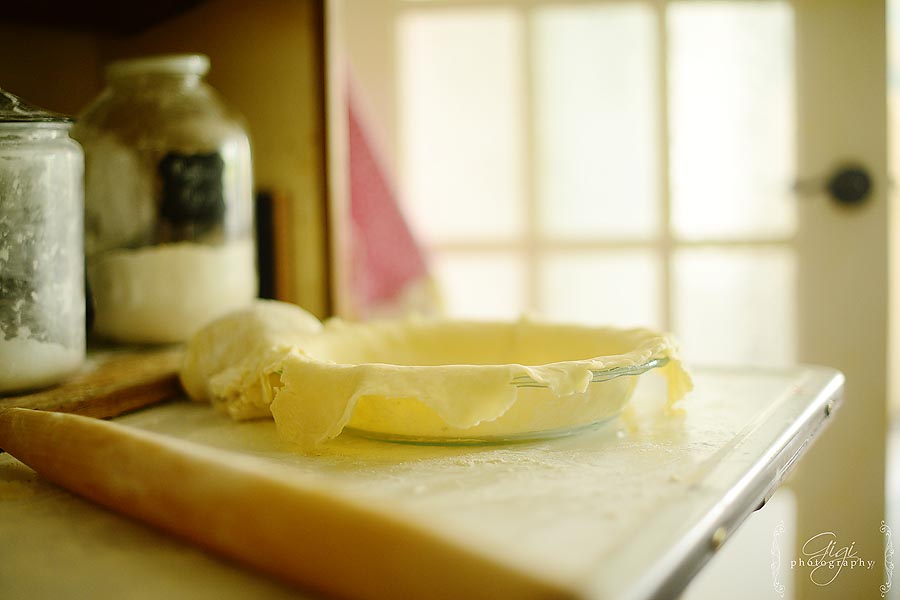
The book also said do not attempt to stretch your pie dough into the right shape! It will remember its original size and return as such.
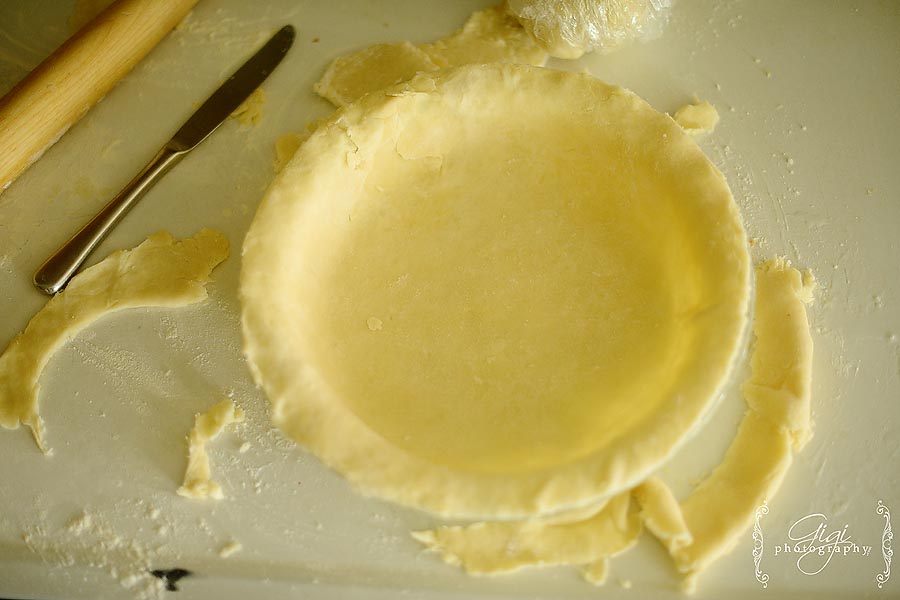
The next step is a blind bake. Place a plate full of dried beans on top of foil onto your bottom pie crust and bake it for 12-15 minutes at 425 degrees or so. Just to brown it a little. The weights (beans) keep the pie crust from shrinking. A blind bake also helps your pie from succumbing to a soggy crust.
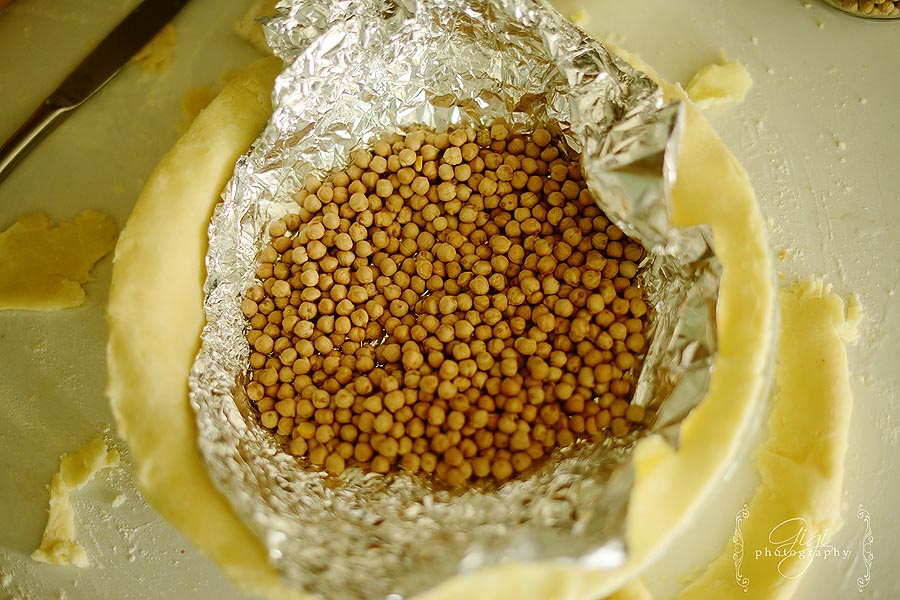
Once the blind bake is accomplished, remove your pie crust from the oven. Fill your pie with your choice of fruit, etc. , then choose your topping {full pastry shell, lattice, etc.} Crimp edges. Lightly wet pastry with milk and sprinkle sugar loosely on top of pastry. Bake at a high temperature {425} for 10 minutes, then reduce heat and bake till pastry is cooked. Place foil gently overtop your pie if it is browning too quickly. Because I am cooking with the cookstove, I cannot greatly reduce or fluctuate my temperature. I bake at a somewhat even 350 degrees.
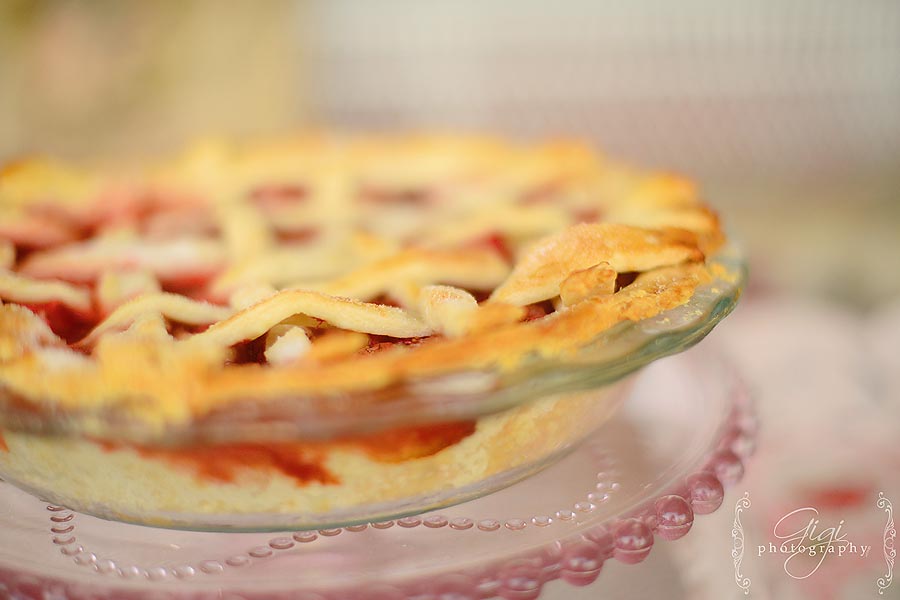
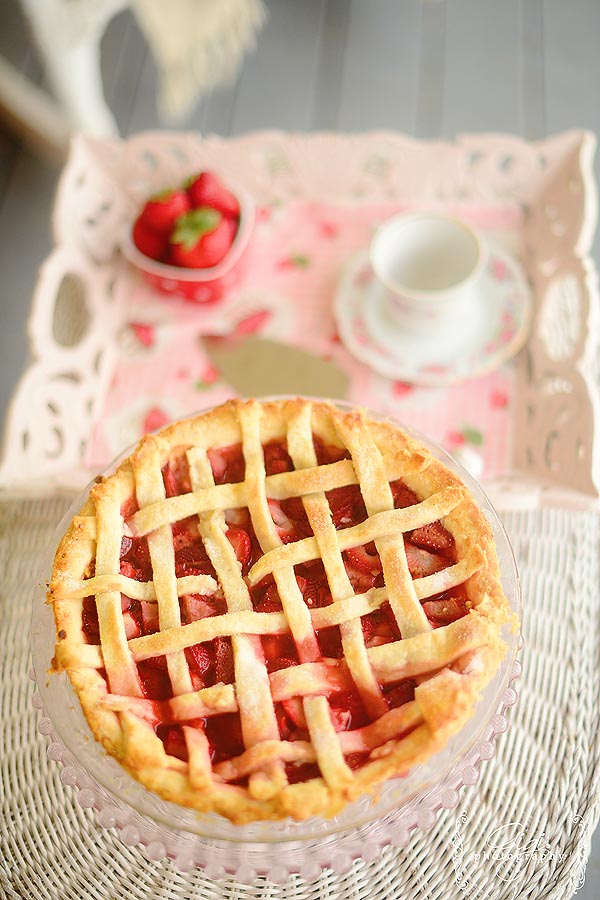
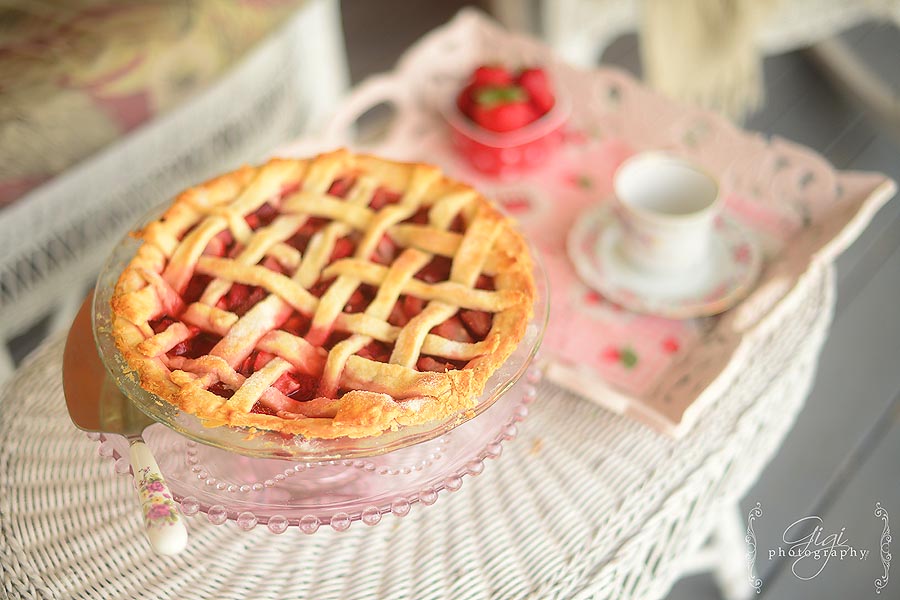
The kitchen smelled delicious when the pie came out of the wood cookstove oven … so worth the effort! And it tasted great! The first one was apple (it needed a bit more filling but was still great) and the second was strawberry … both were tasty and generally successful…
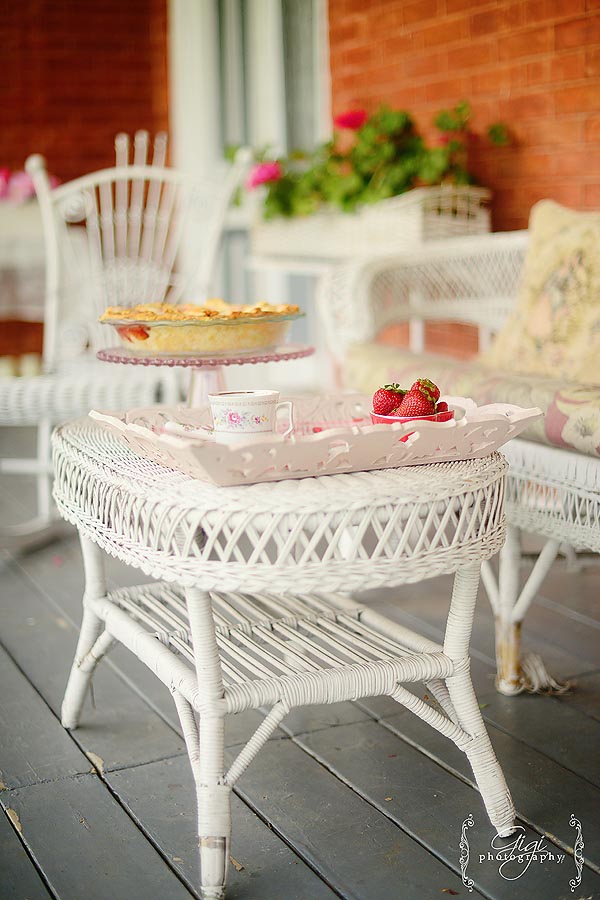
Now you are all set for tea and pie on your porch on a summer afternoon …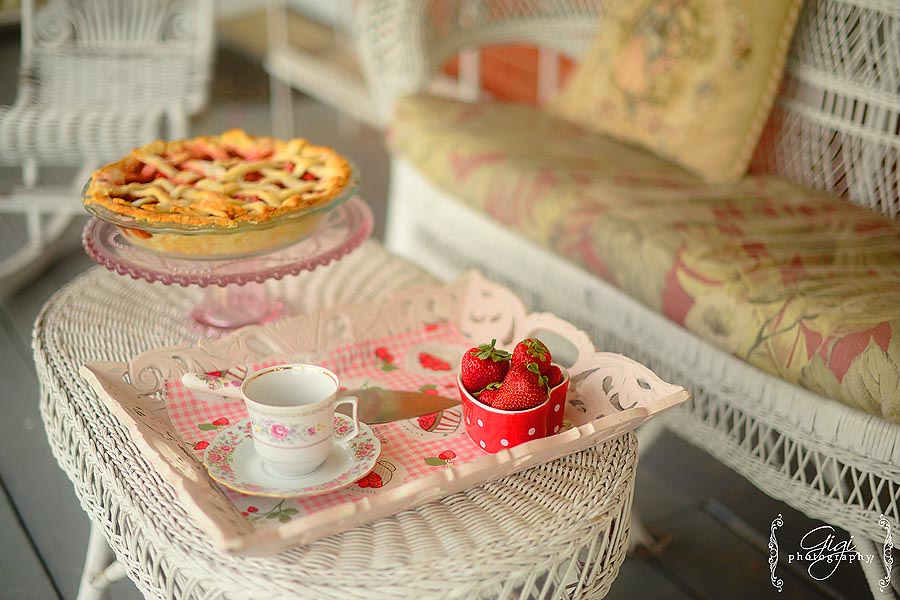
The strawberry pie passed the husband’s inspection and taste test (sadly, he did not make it home in time to try the apple pie). 🙂
Do you love to bake pies?
Do you have family secrets to share in regards to perfecting your pastry or putting the right touches on your pie?
What are your favorite pie fillings? Mine, indeed, is fruit – mainly, blackberry (and that is because I was raised on B.C. blackberries and they make the *best* juiciest pies ever).
P.S. You can pick up this sweet little pie book for yourself here.



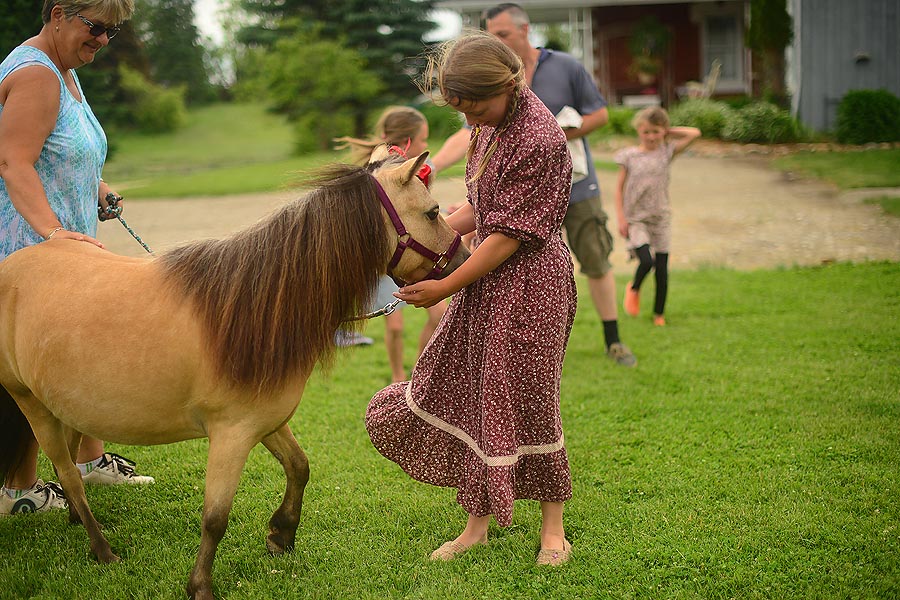
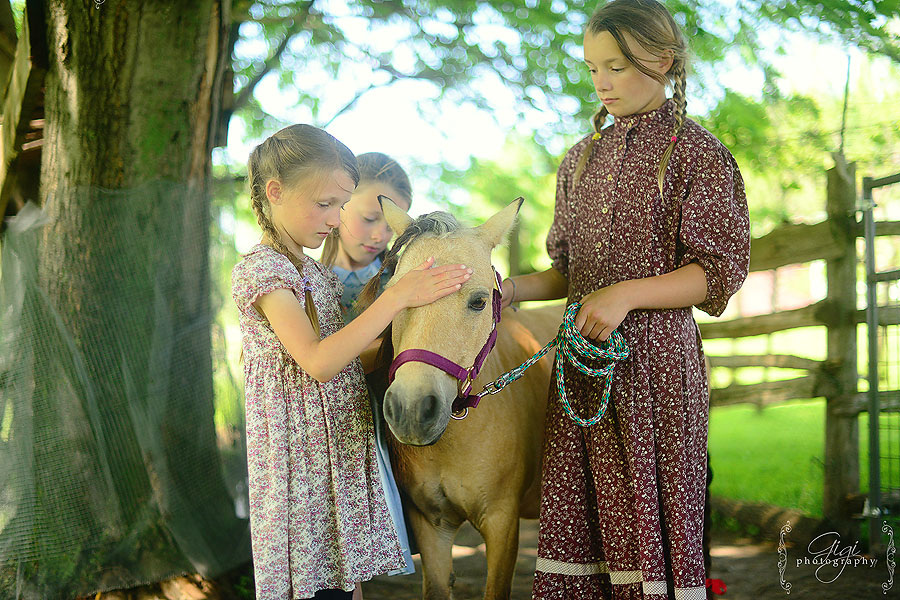
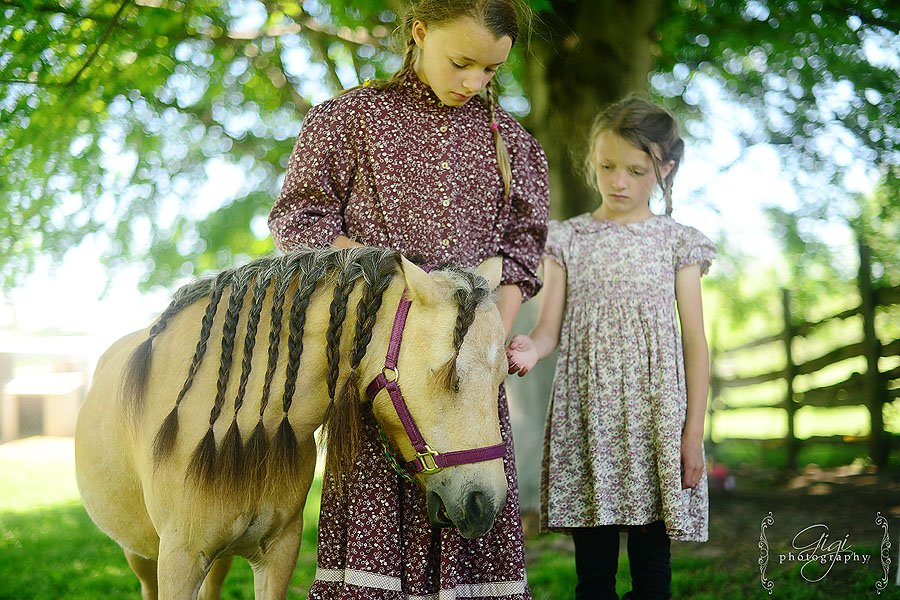
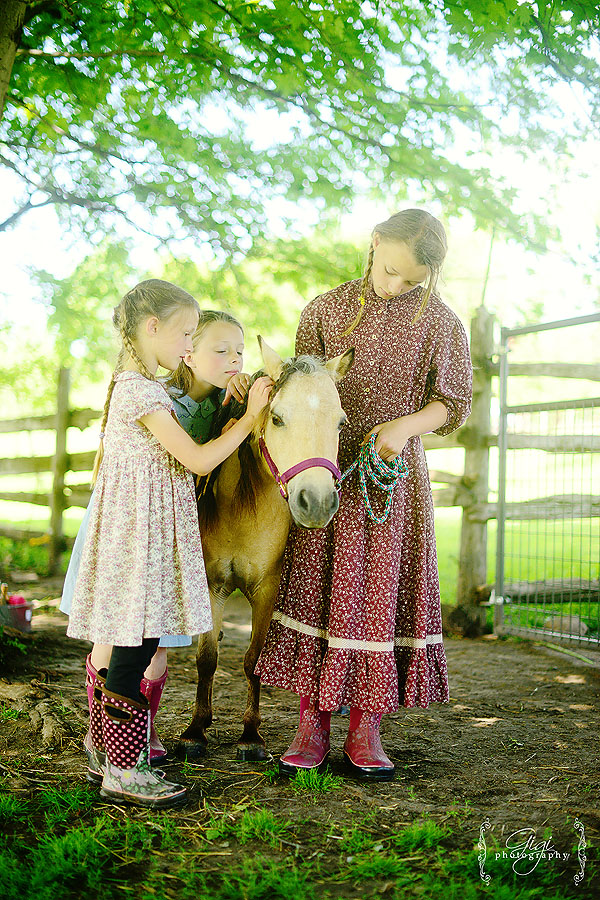
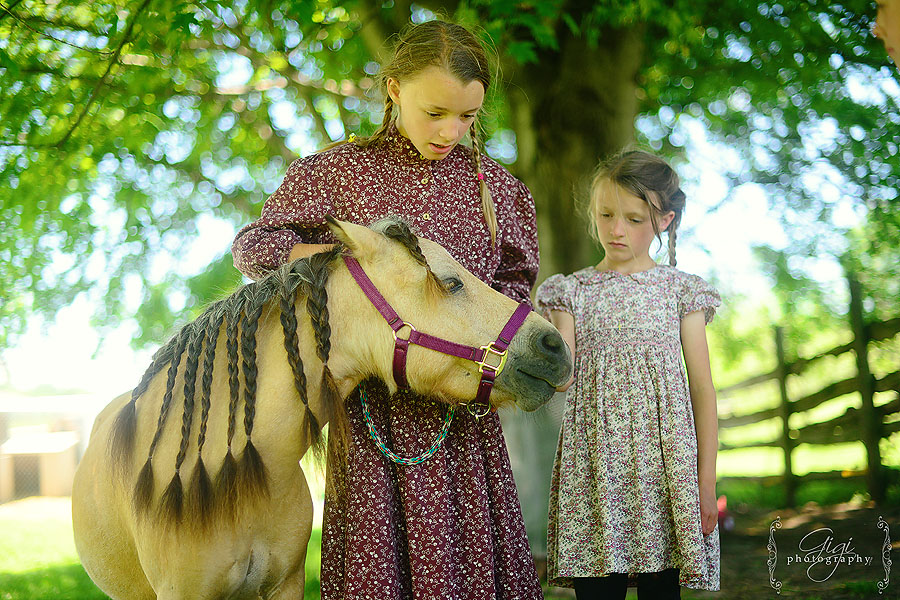
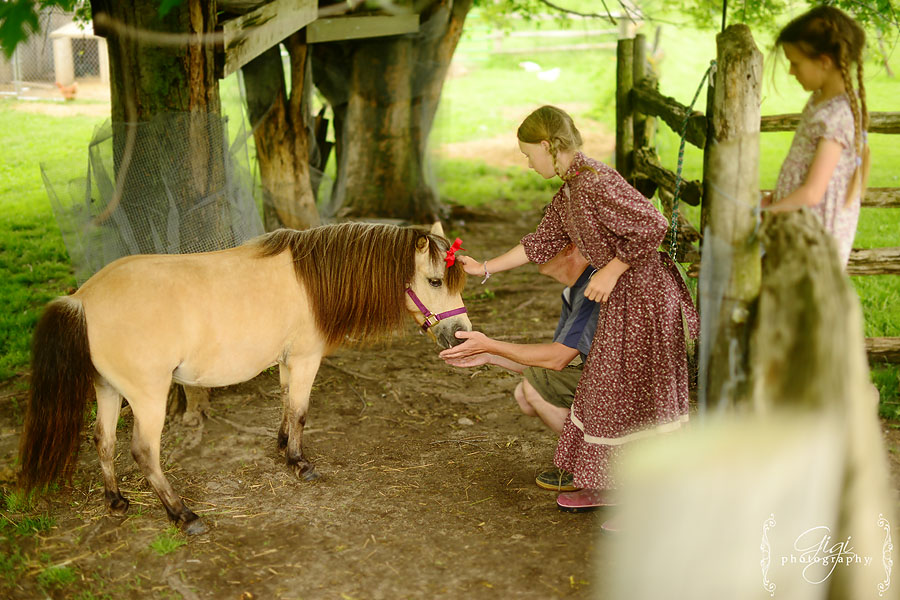 It did not take the girls long to braid her mane and tail – they couldn’t wait any longer!



by Gigi
4 comments